Reducing SAM images
SAMI Data Reduction
(Updated: May 25, 2020, by C. Briceño)
There are several ways in which you can reduce the SAM Imager (SAMI) data. You can use the various tools in the MSCRED package in IRAF, or you can run the PyIRAF-based PySOAR pipeline described here, developed by Luciano Fraga (now at LNA, Brasil). Additional information on running PySOAR can be found in Luciano's SAMI Data Reduction Cookbook.
At this moment PySOAR is running only on the soarpd1 computer. In order to use it, you must follow the steps outlined below: login into soarpd1, transfer the data to soarpd1, and run the pipepline.
1) Log in to access your data and get setup for running the image reduction.
There are two ways of doing this: via a VNC viewer or using ssh. In either case, unless you are within the CTIO network, that is either working from our La Serena headquarters or at Cerro Pachón, you will need to install a VPN client in your computer. Please contact your scientific support staff (Andrei Tokovinin or César Briceño for NOIRLab and Chile users; Luciano Fraga - lfraga at lna.br. - for Brazil users) for VPN passwords and usernames (indicated below as "USER").
1.1) Using SSH:
- Once you are running your VPN client, you can ssh into the soarpd1 machine:
ssh -X observer@soarpd1.ctio.noao.edu - It is important you use the -X option which enables X11 forwarding. Otherwise, the sami PyRAF script will not run, because it requires an available display (even though it does not open any graphics or GUI when run from the command line in ssh)
- Go to the data directory: /home/observer/data/ and create a folder for your data. We use the sintaxis YYYY-MM-DD, were the day (DD) corresponds to the local evening of the particular observing night (e.g. 2015-02-14 for the data taken the night of Feb 14-15, 2015).
- Now, from within the folder you just created, copy over the data from the SAMI computer soarhrc, where your data is still located type in the command line the following: scp -pr USER@soarhrc.ctio.noao.edu:/home2/images/20150215/\* , where the USER name and corresponding password will be provide by your Support Scientist (Andrei Tokovinin or César Briceño, for NOIRLab and Chile programs, Luciano Fraga (flfraga at lna.br.) or Brazil programs). We suggest you create a subfolder called RED, and copy there your data, so you can run your reduction there and still keep your original raw files.
1.2) Using VNC:
If your are at La Serena or Cerro Pachon, just type the following command in a terminal or shell in your Linux or Mac computer:
- vncviewer -Shared soarpd1.ctio.noao.edu:9 &
or:
- vncviewer -Shared 139.229.13.231:9 &
The vnc password should be requested from one of the support scientists (Andrei Tokovinin or César Briceño)
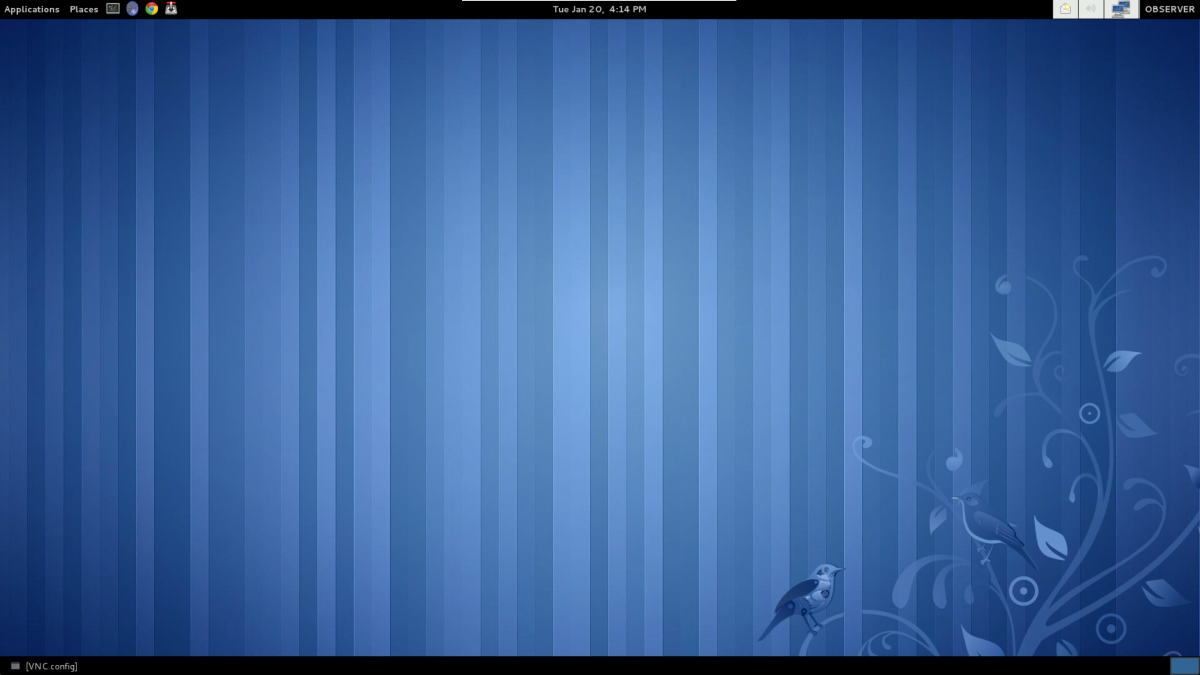
- When you have successfully connected into soarpd1:9 you will see a desktop like this:
If you are outside the CTIO network, run your VPN client, and then follow the above instructions.
- Transferring the data via the VNC connection.
During observing, the SAMI data is written to /home2/images/ on soarhrc. The folder should have been created by you when you set up your observing night, with a name corresponding to the local date of the observation: yyyy-mm-dd (e.g. 2015-01-20). To transfer the data from soarhrc to soarpd1 you must either click on the top-right icon:
or type in a terminal windown the following command: data_transfer.py You will be presented with this window:
Click on the right hand menu to select the right instrument: SAM. Then type in the appropriate source directory in the soarhrc computer (e.g. /home2/images/yyyy-mm-dd/) and the destination directory in soarpd1, e.g. /home/observer/data/yyyy-mm-dd)
2) Starting PyRAF (only necessary if using VNC):
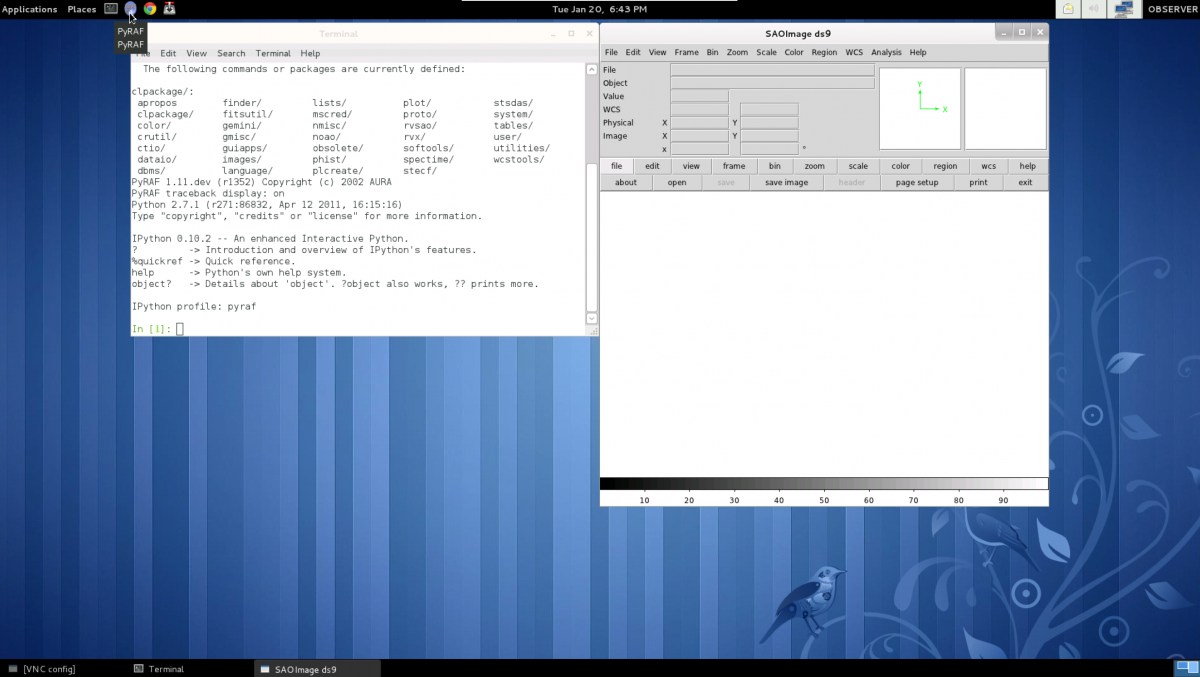
To start PyRAF (and the ds9 at the same time) click on the top-left icon.
3) Running the pipeline script samipipe.py
Either in your ssh window, or if using VNC, from a terminal window, go to the data directory (e.g. cd /home/observer/data/2012-03-01).
Important! The calibration frames (biases and flat-fields) and the science frames must be in the same directory. If you already have the master bias and master flats, just copy both to the same directory. Also, at this moment the pipeline does not handle dark frames, so do not include them in the directory in which you will run the pipeline command, otherwise you will get an error after the pipeline is done with the overscan and trimming parts of the reduction.
We suggest that you use the following naming convention when creating your data at the telescope (or rename your files after the fact): Call bias frames as bias2x2.001.fits; sky flats as sflat_V.001.fits, and science frames as soar20150214.001.fits (etc). This will make it easier to run the pipeline.
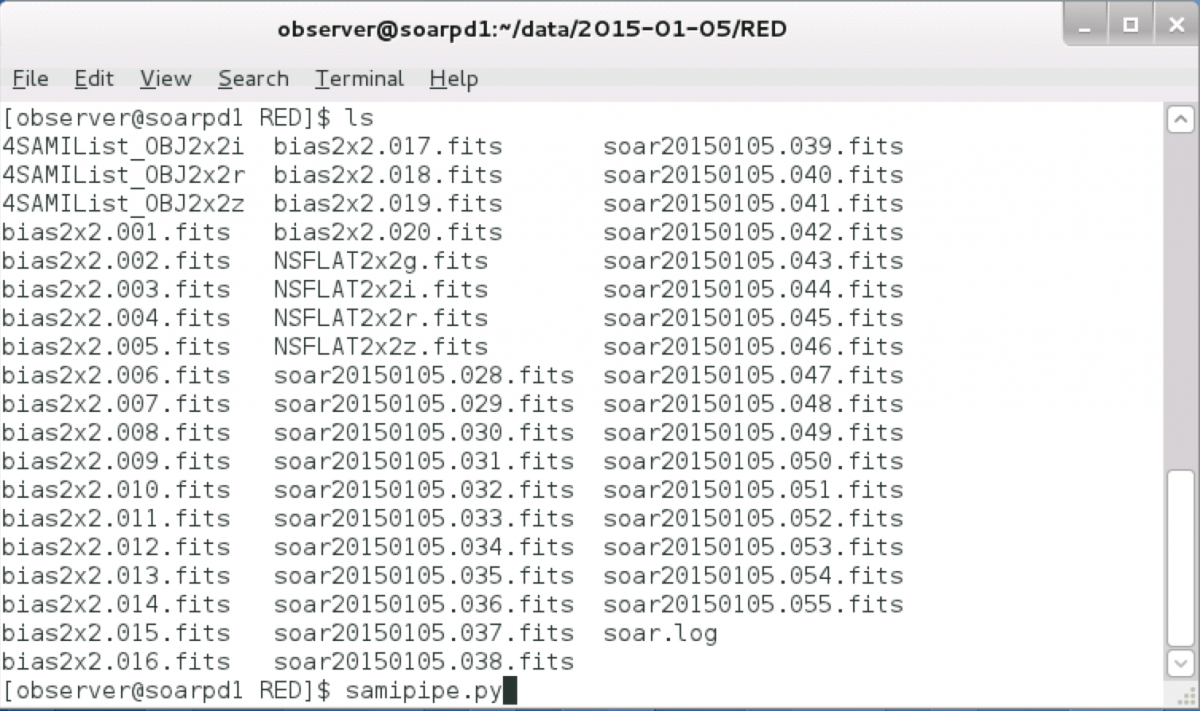
Run the pipeline with the command line:
samipipe.py
As shown here:
When prompted for the images names, just type *.fits. The data processing will run. your images will be corrected for overscan, bias-subtracted, and flatfielded.
When the script is finished you are going to end up with various files with the following nomenclature:
NSFLAT2x2g.fits
NSFLAT2x2i.fits
NSFLAT2x2r.fits
NSFLAT2x2z.fits
ZERO2x2.fits
which are the amplifier-merged, combined flat fields for each filter (in this case the data were obtained in 2x2 binning, the default for SAM), and the combined bias frame. You will also have a series of text files which list your raw fits frames per type:
0SAMIList_Zero2x2
2SAMIList_SFlat2x2g
2SAMIList_SFlat2x2r
2SAMIList_SFlat2x2i
2SAMIList_SFlat2x2z
4SAMIList_OBJ2x2g
4SAMIList_OBJ2x2r
4SAMIList_OBJ2x2i
4SAMIList_OBJ2x2z
You will also see that a folder "Raw" was created, which contains your raw, unprocessed images.
If your science frames were named soar20141022.* (the naming convention we have recommended above), you will end up with files mzfsoar20141022.*
Thus, for a raw science frame named image.001.fits, the reduced frame will be like mzfimage.001.fits. The prefix z means zero subtract, f means flat-field divided and m means that the file has been converted from multi-extend fits to single fits.
4) Run the quick astrometry
Now you can run a Python script created to determine the offset and angle of SAMI images by referencing to a star catalog. This tool is intended to provide first order "astrometry", good to ~0.3". The script is called samiqastrometry.py, and is run on the reduced mzfsoar20141022.* files with the following parameters:
samiqastrometry.py mzfsoar20141022.026.fits -px 0.091 -c tmc
In case your images were obtained in 2x2 binning mode.
If you want to know about the samiqastrometry.py options, type: samiqastrometry.py -help
For a list of examples on running samiqastrometry, type:
samiqastrometry.py -example
And if you want to find out about catalog options, type:
samiqastrometry.py -catalog
For more information and details on samiqastrometry.py and SAMI data reduction, see the SAMI Manual.
Updated on January 29, 2025, 10:47 am


