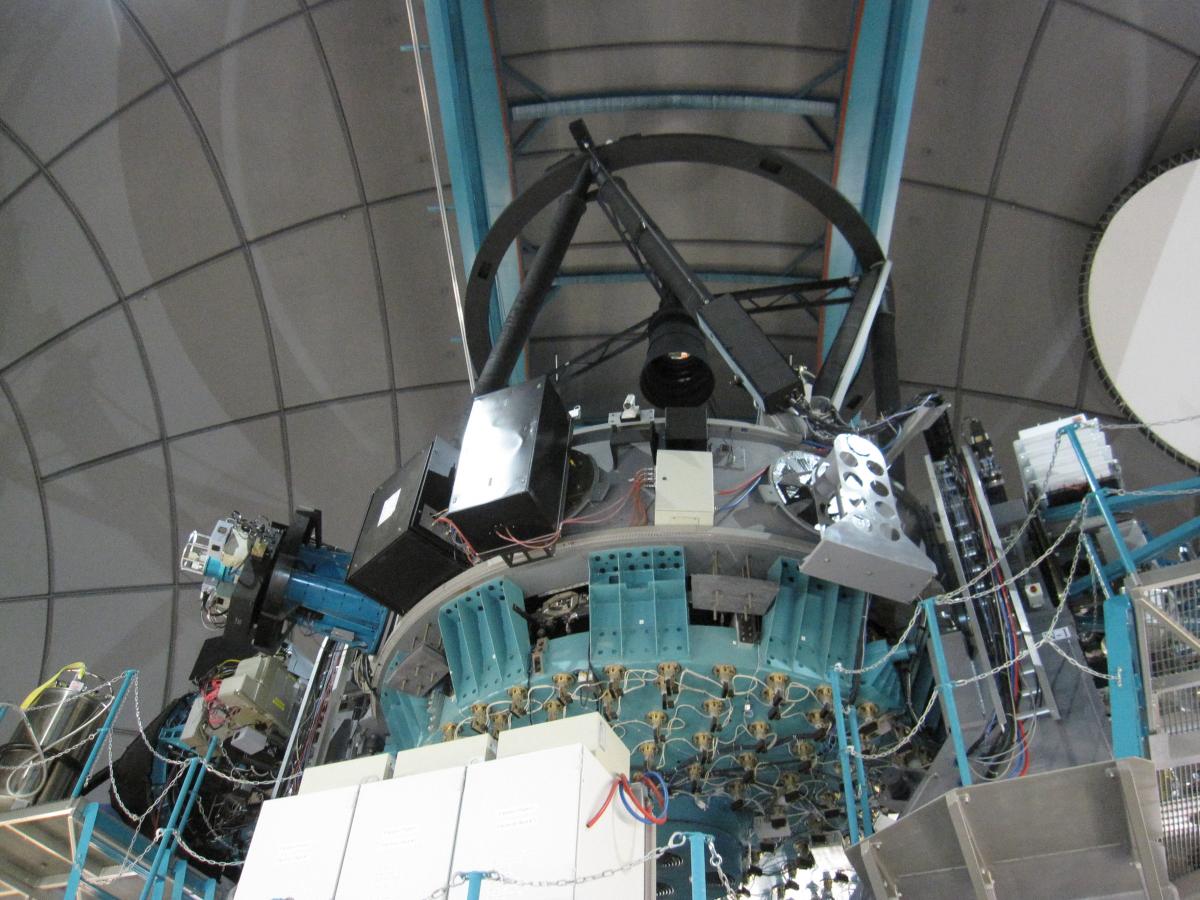
SOAR 2018 Shutdown Details
Last update Nov. 20, 2018
This page will be updated as the shutdown progresses.
M2 Removal
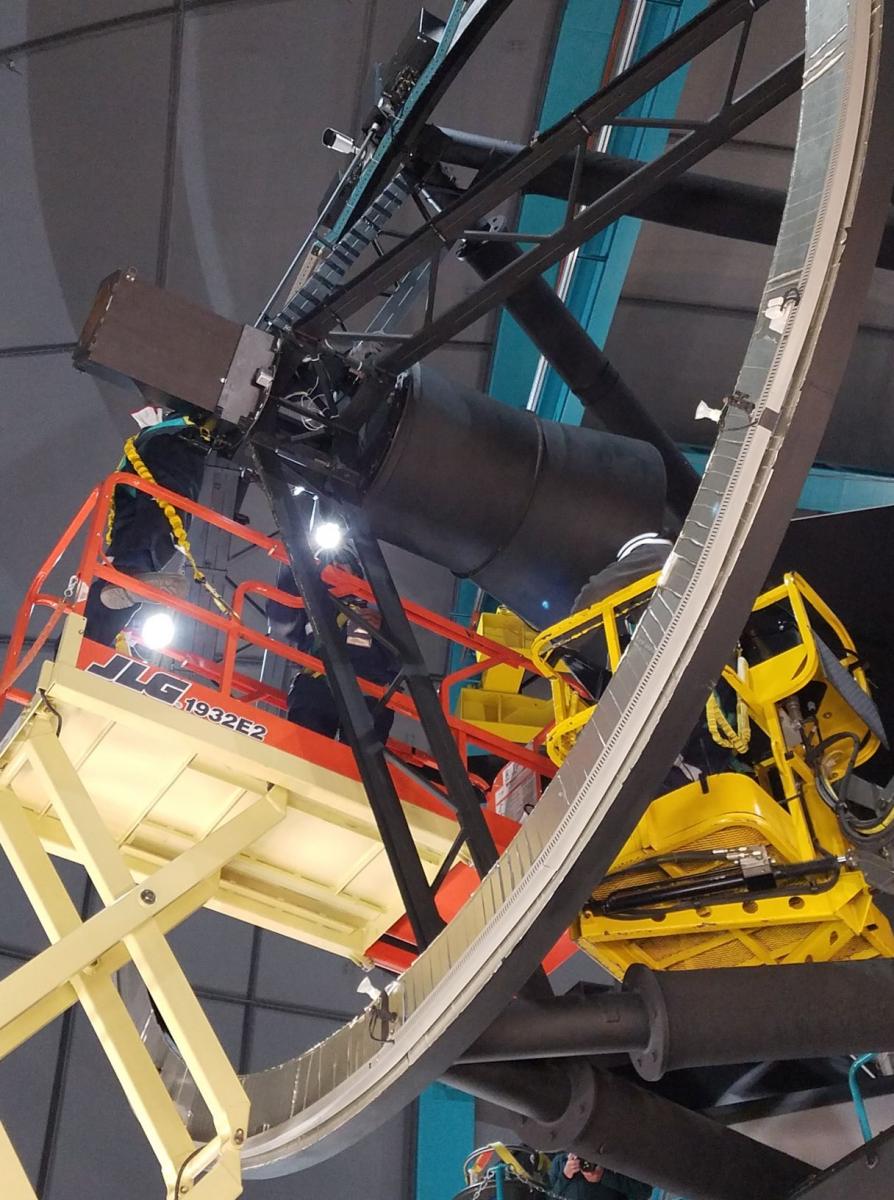
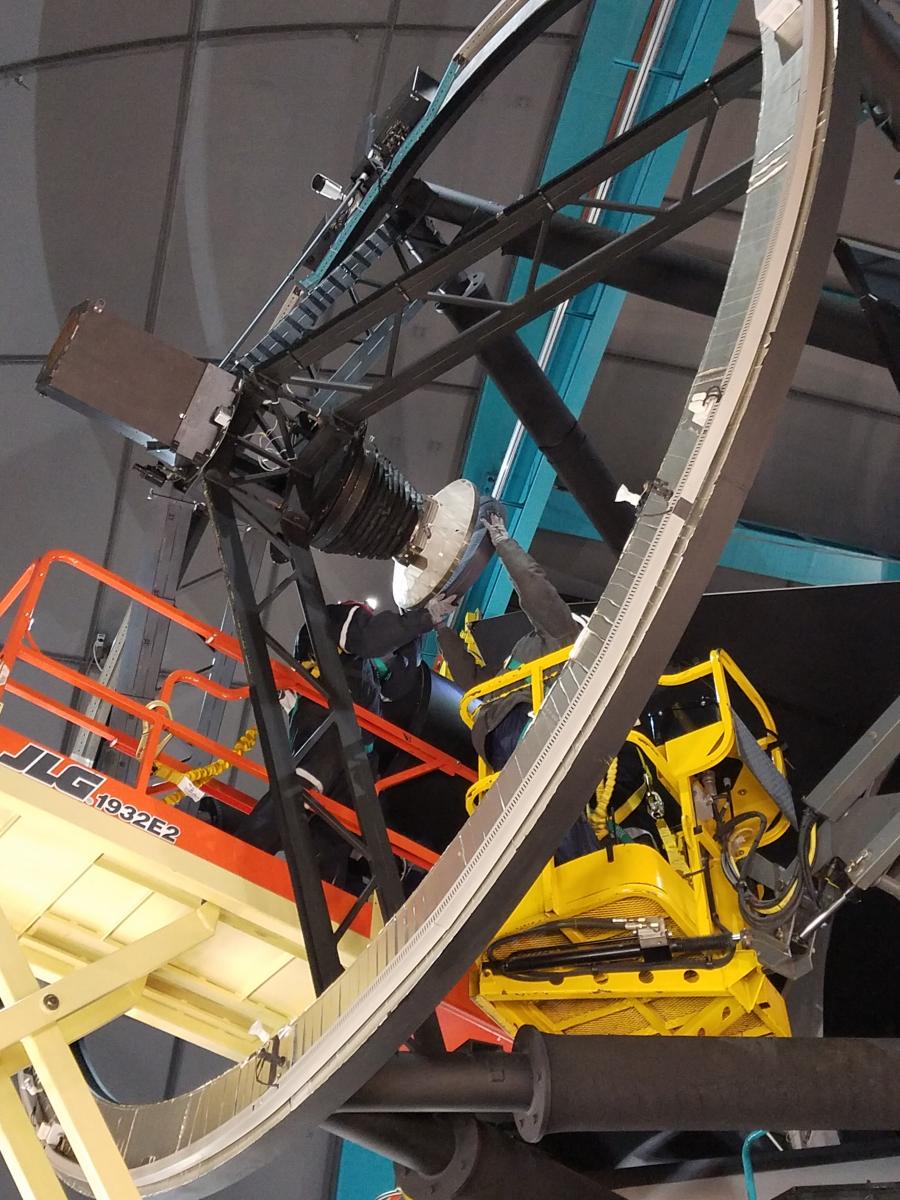
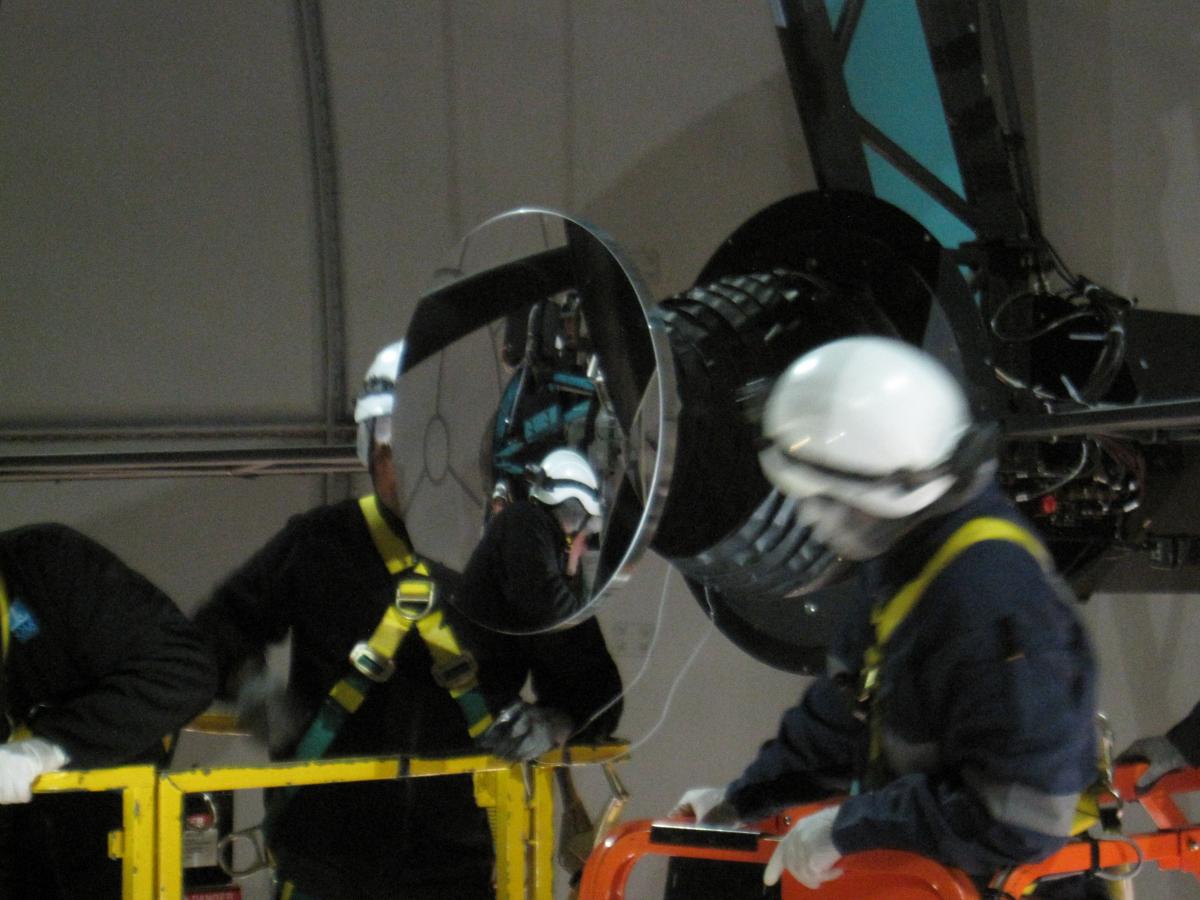
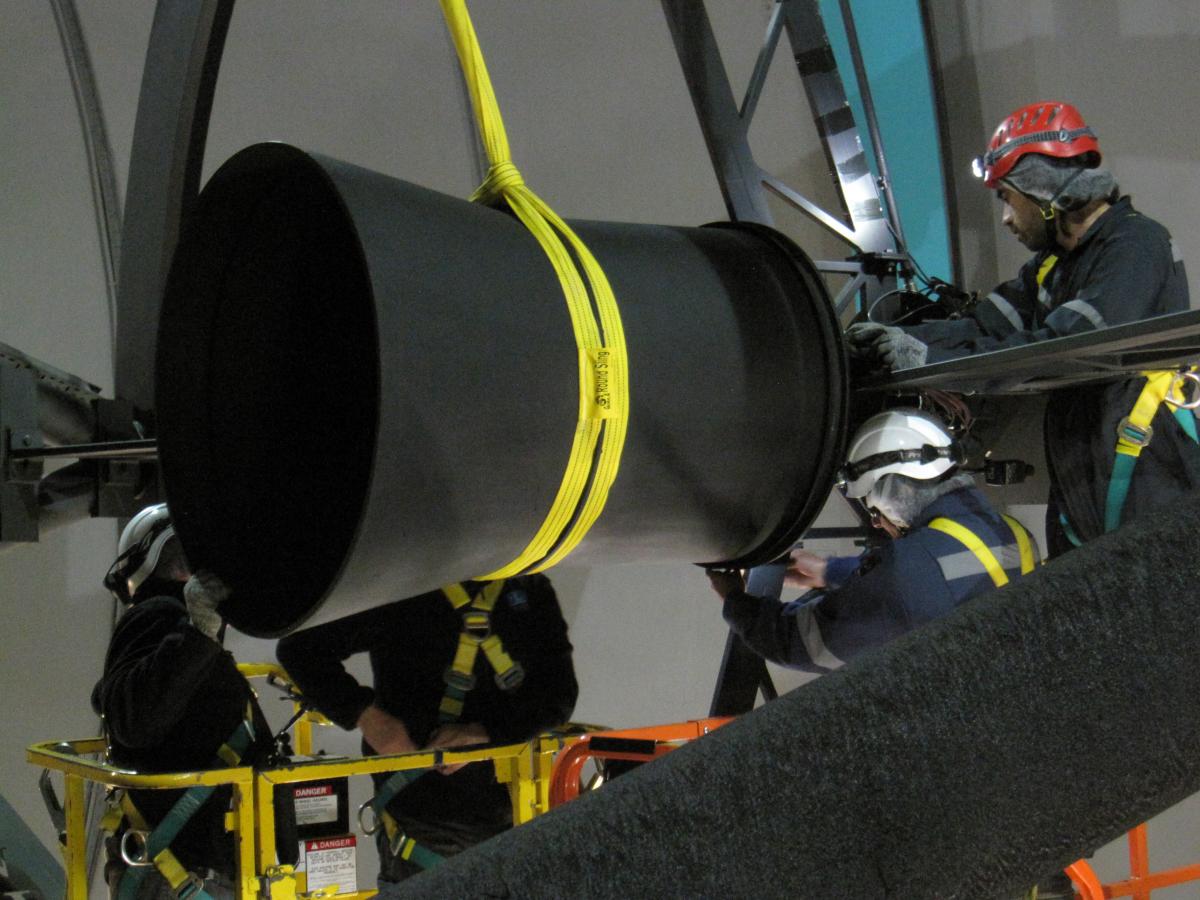
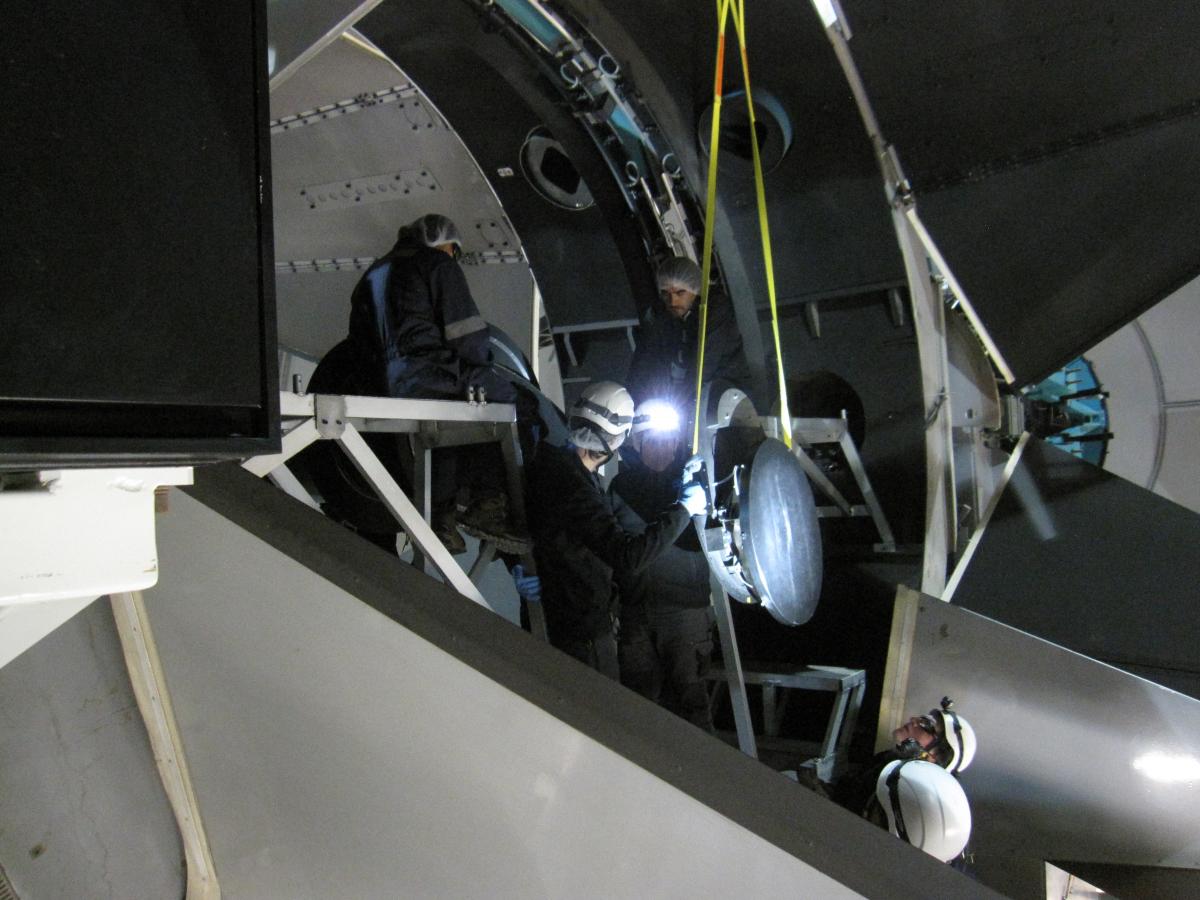
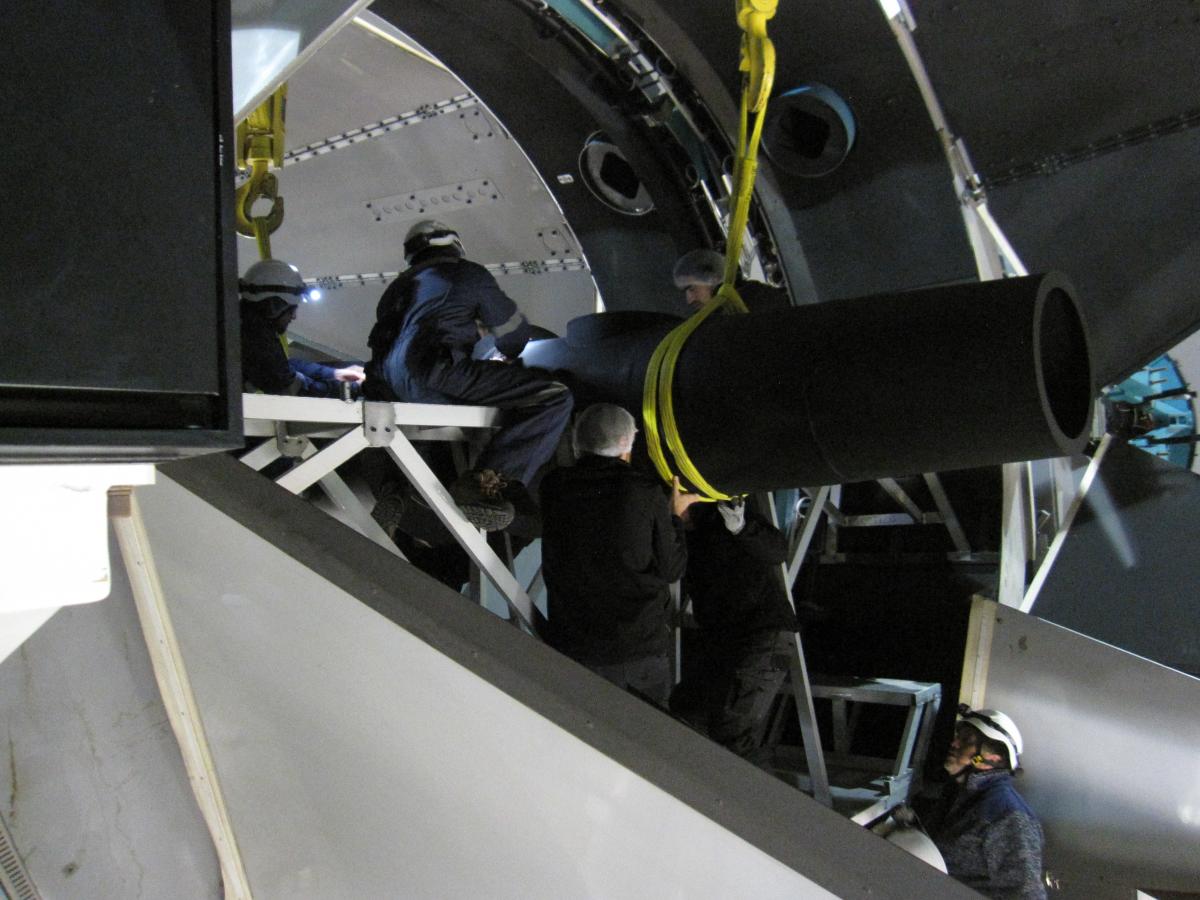
The photos below show some of the step in removing M2:
In the left-hand picture, the telescope crew is using a scissor lift and boom lift to access the baffle around the secondary mirror assembly; in the right-hand picture the baffle has been removed and the crew is placing a protective cover over the mirror.
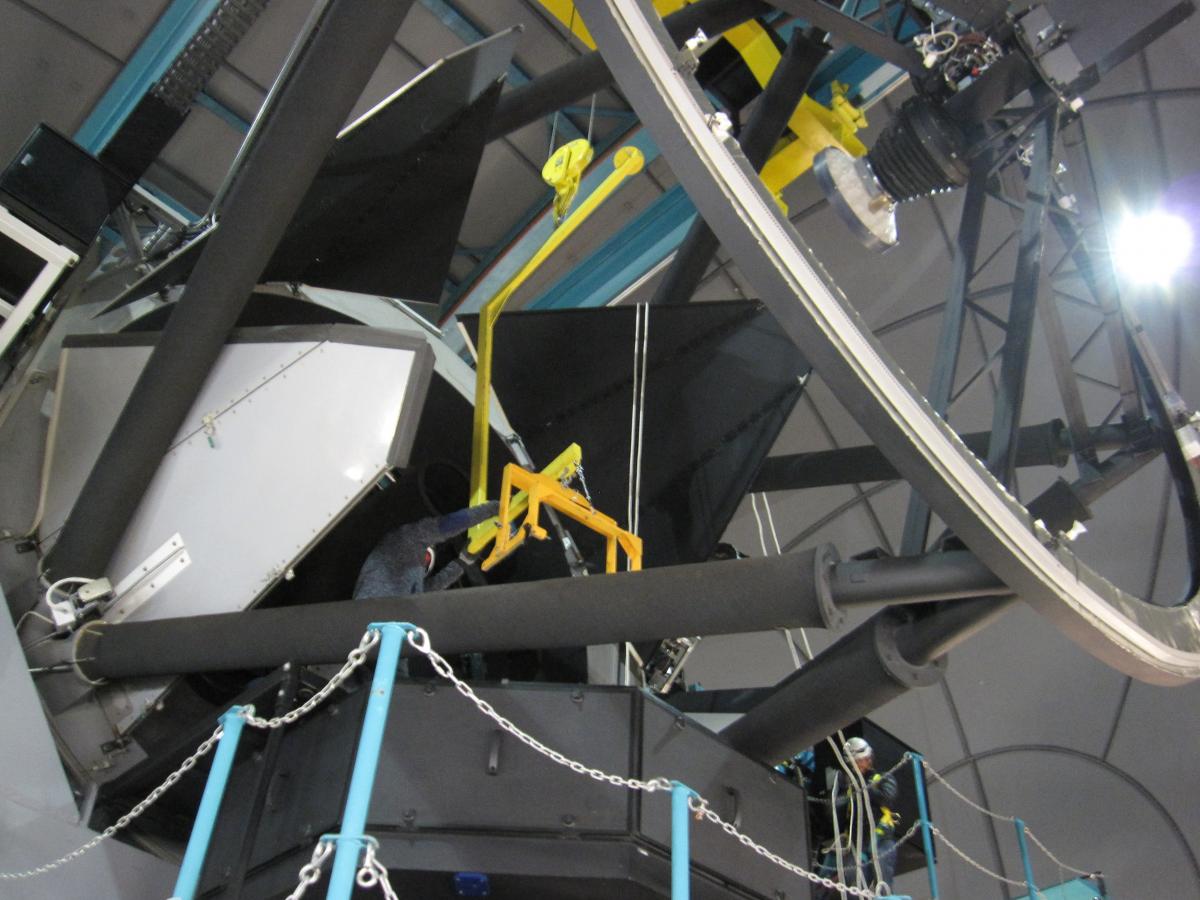
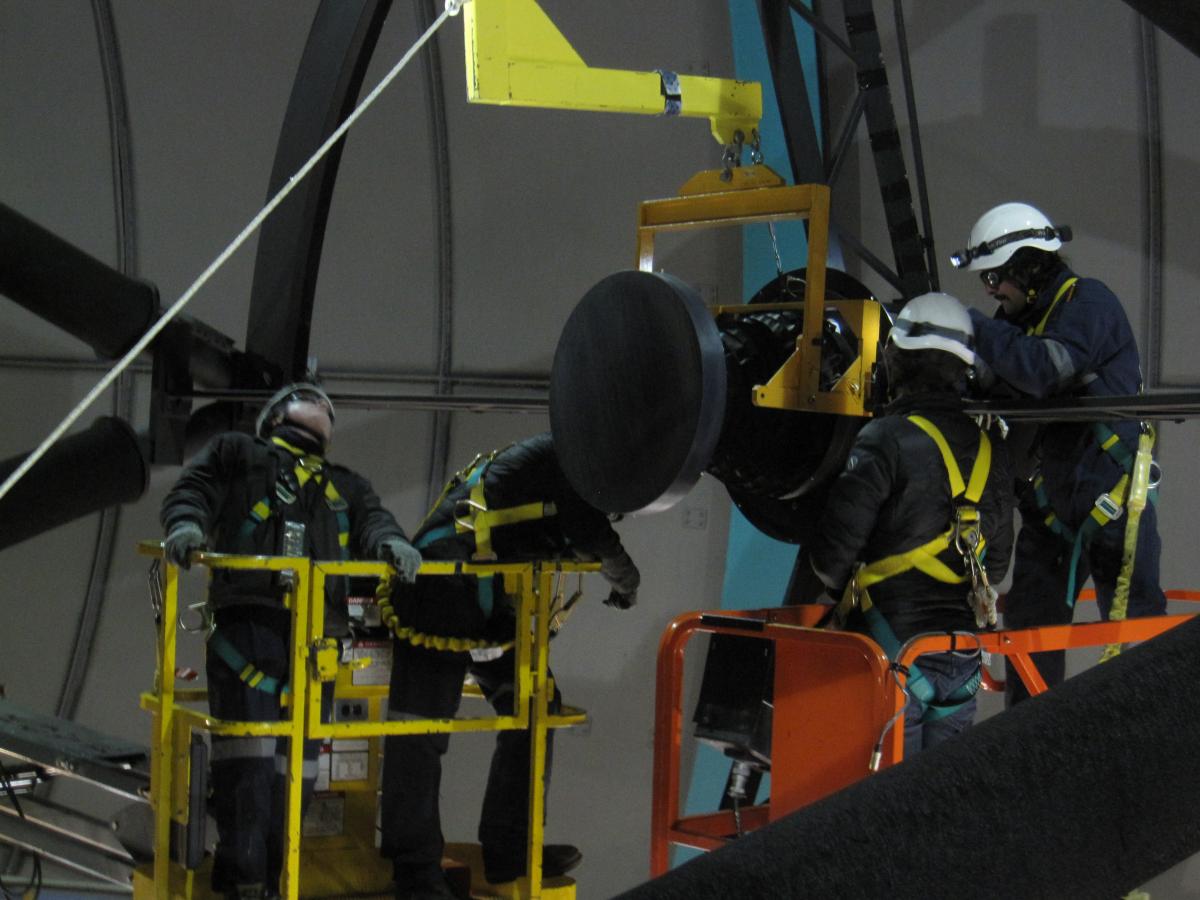
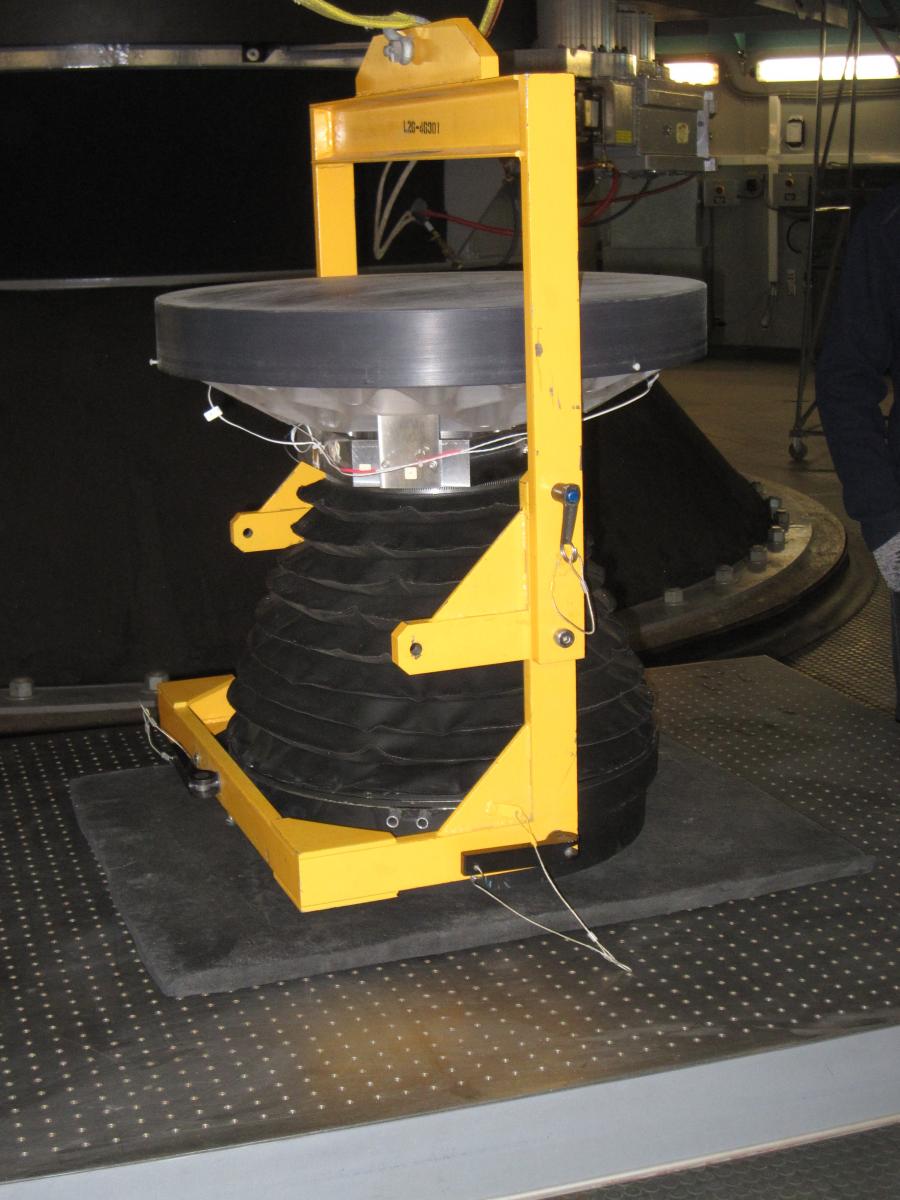
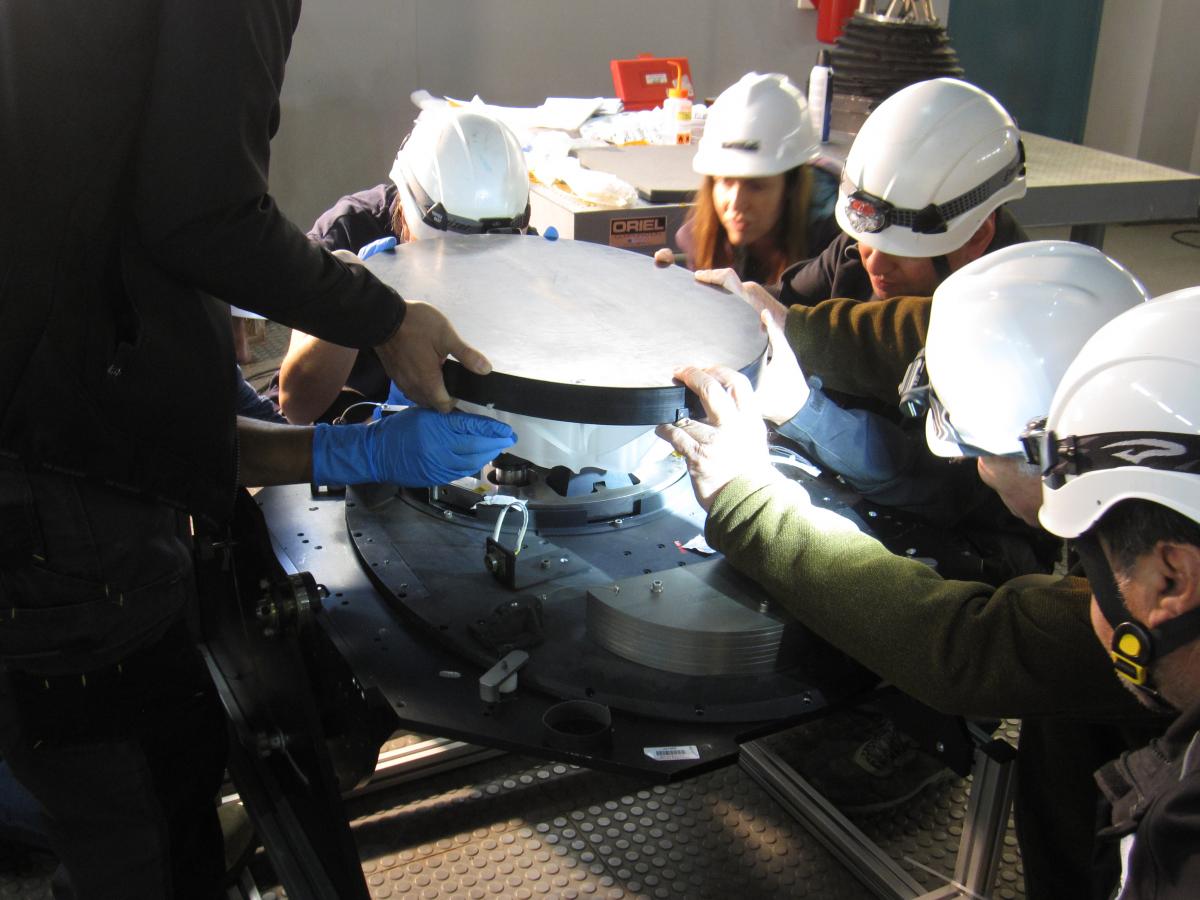
The subsequent steps require attaching a special lifting fixture to the M2 assembly, detaching the assembly from the telescope structure, and then moving it to an optical table where the mirror can be removed (next three pictures):
At this point the mirror was removed and placed in its transport box, to be taken over to the 1.5-m coating plant on Cerro Tololo. There it was coated (shown later, below). At the same time, removal of M3 took place, also shown below
M3 Removal
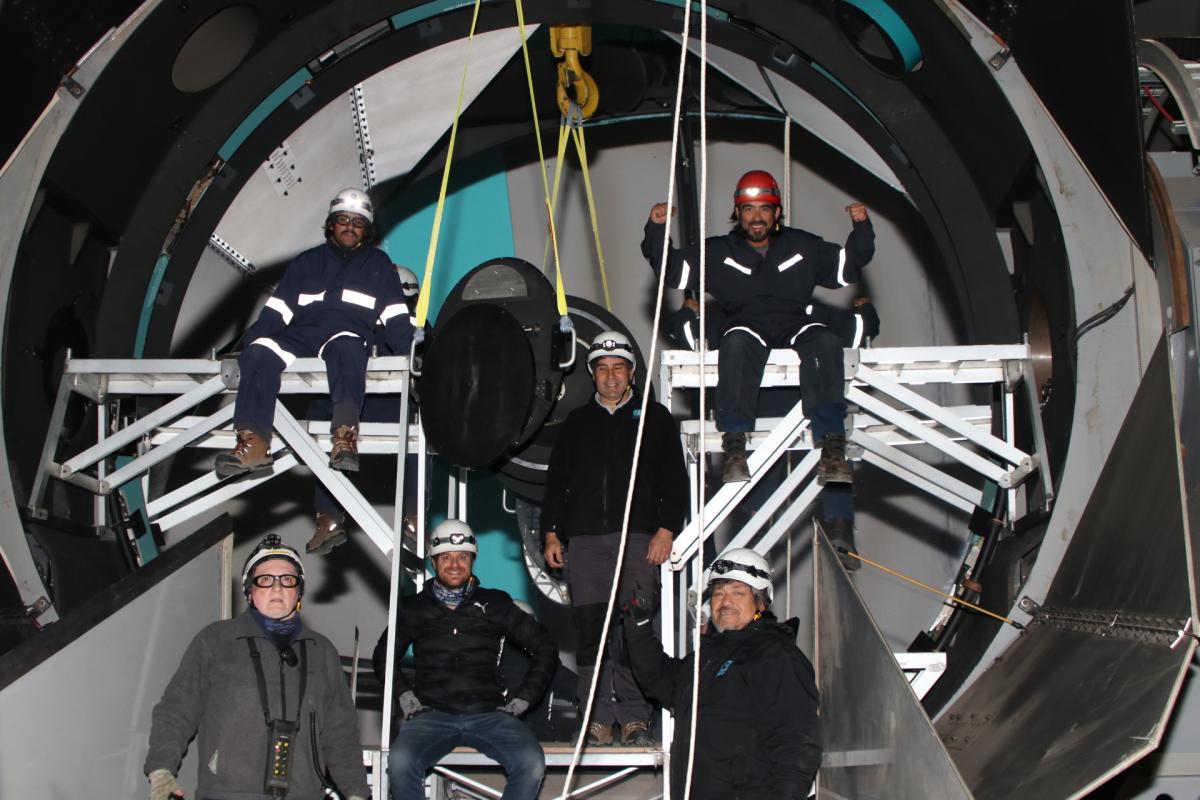
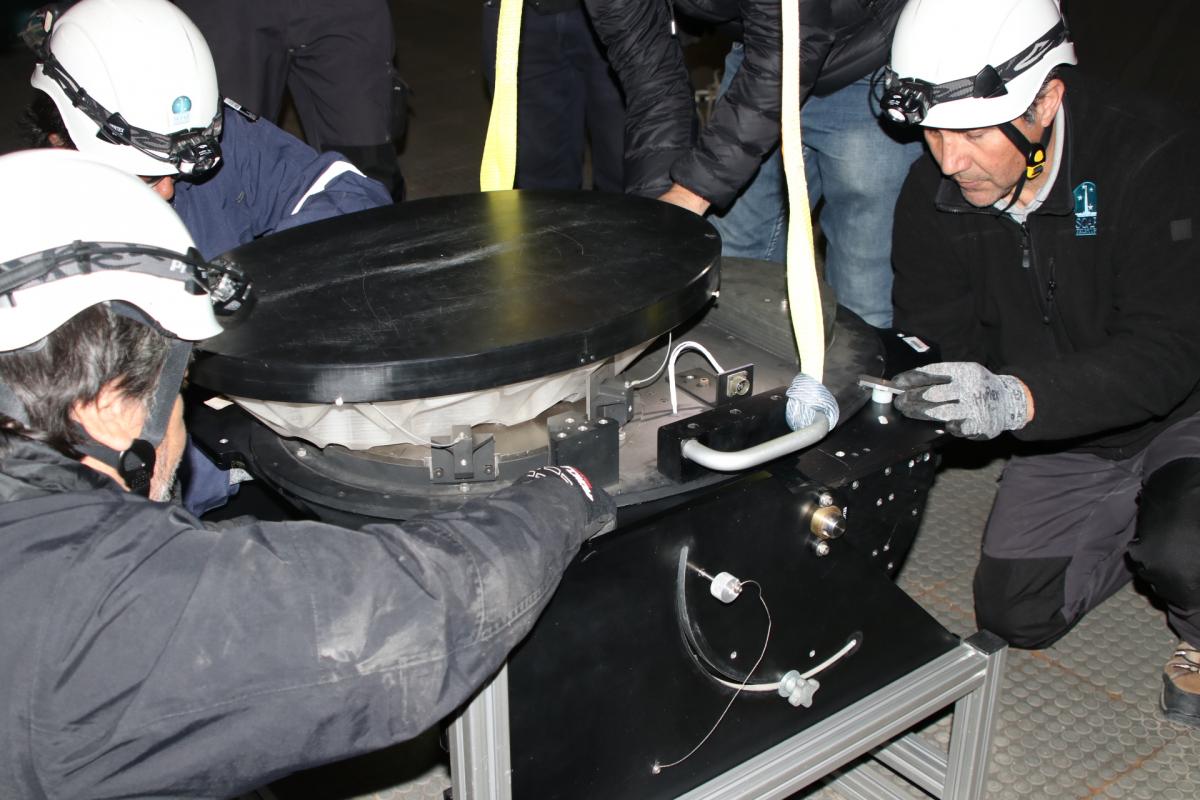
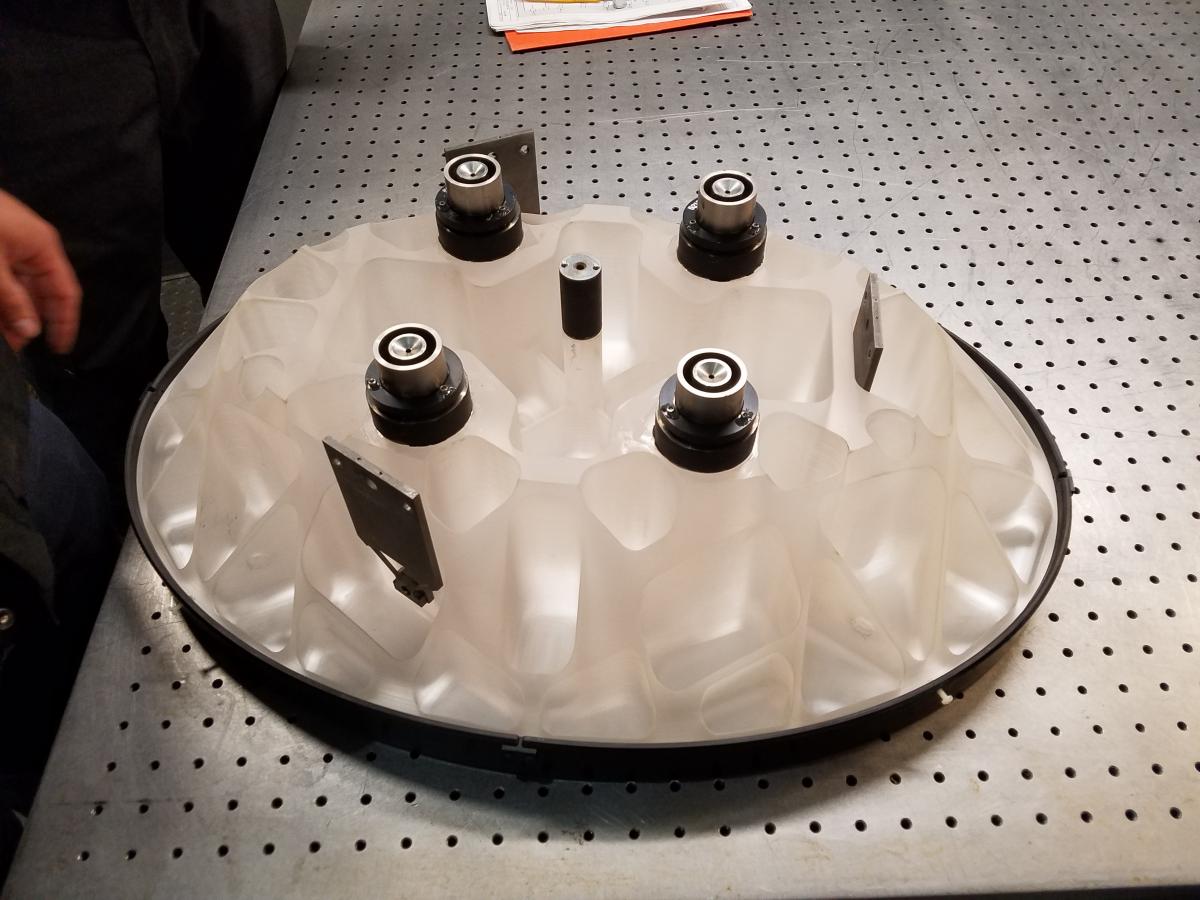
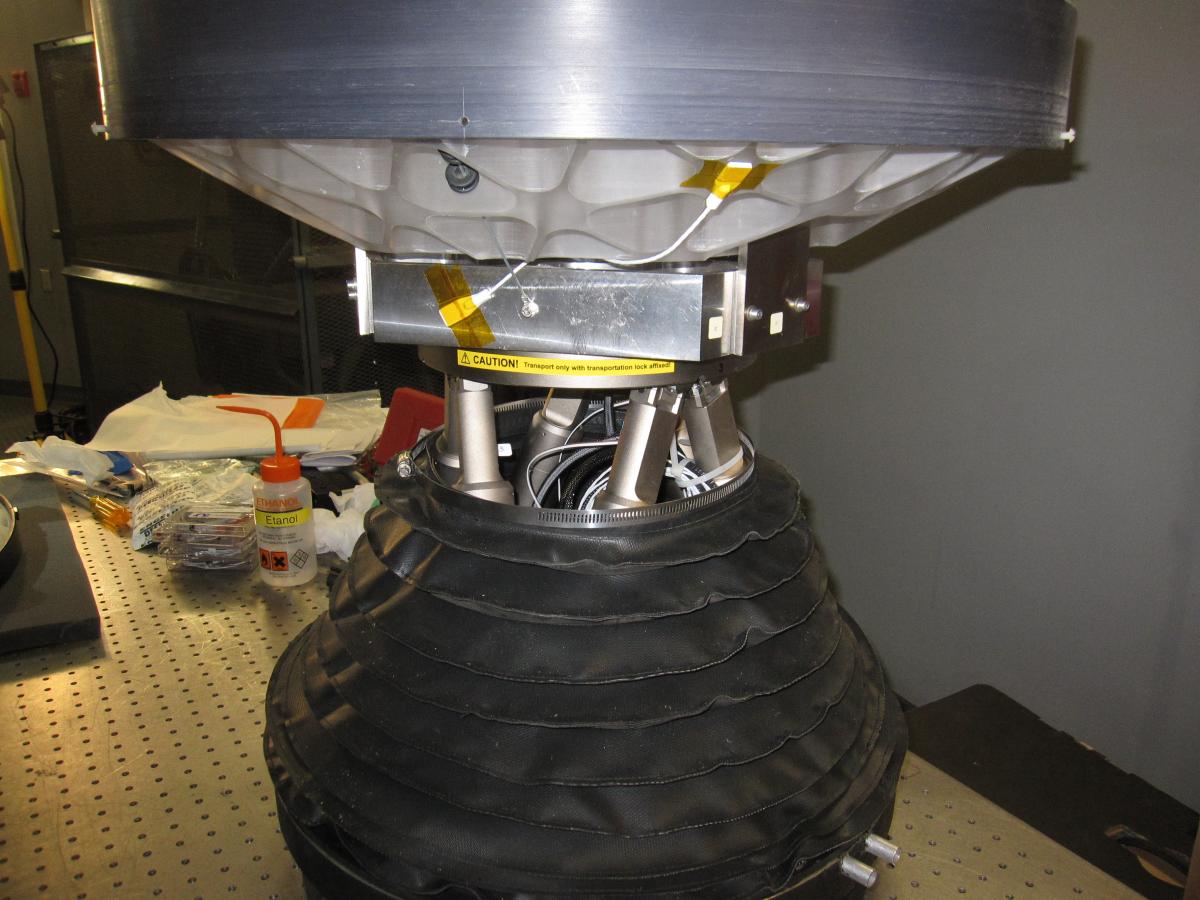
The process for removing M3 is generally similar for that for M2, except that less of the assembly needed to be removed. The pictures below show the M3 tip-tilt assembly being removed from the M3 turret, and then the assembly on the optical bench. The mirror-handling crew in the left-hand picture are (top) Mauricio Araya, Manuel Torres and Cristian Diaz; (bottom) Eduardo Aguirre, Jose Piraces and Fabian Collao.
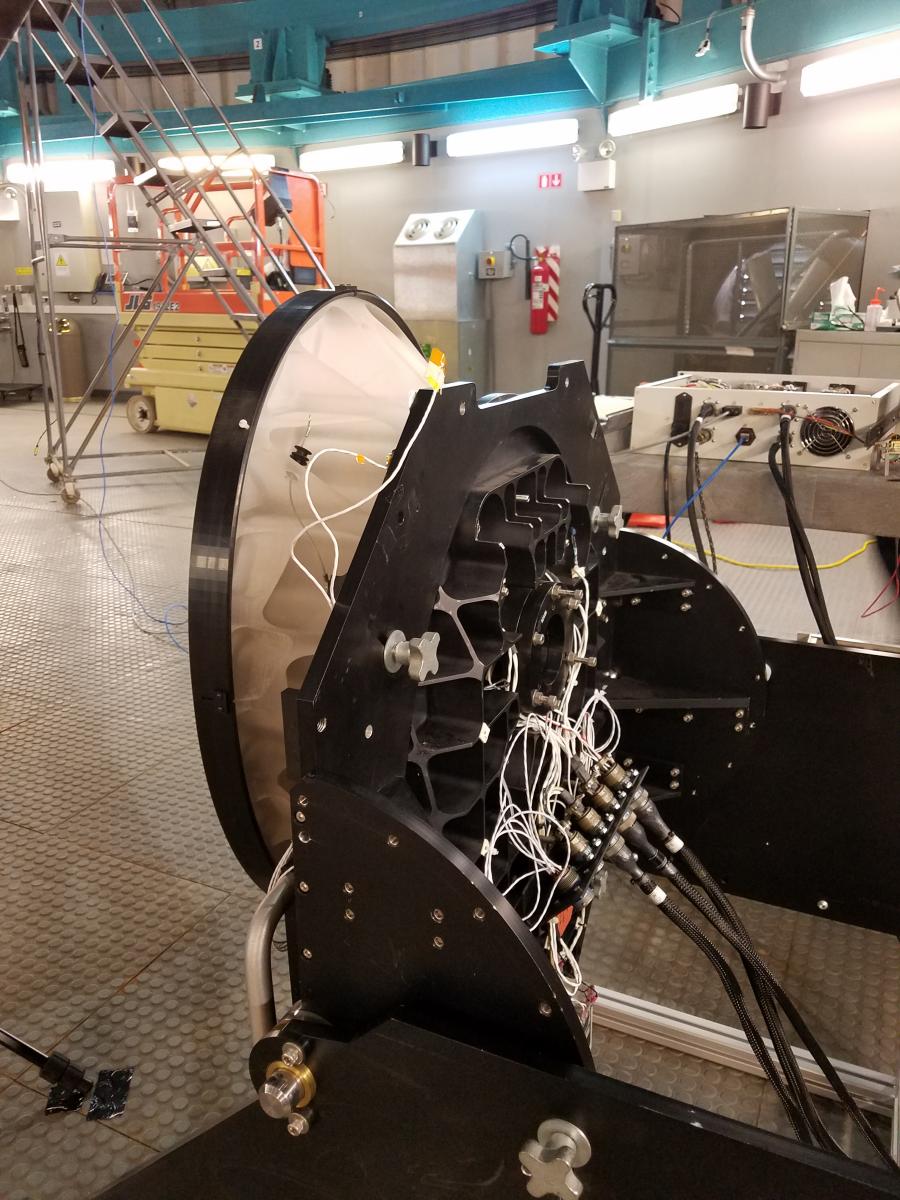
The next photos show the tip-tilt assembly undergoing a set of benchmark measurements that are intended to aid re-assembly, followed by a picture of the mirror (and cover) after it has been removed from the assembly.
While M3 was being removed, work on aluminizing M2 had started.
M2 and M3 Aluminizing
The aluminizing process has several steps:
- First, for reference, the mirror is cleaned and a reflectivity measurement is made.
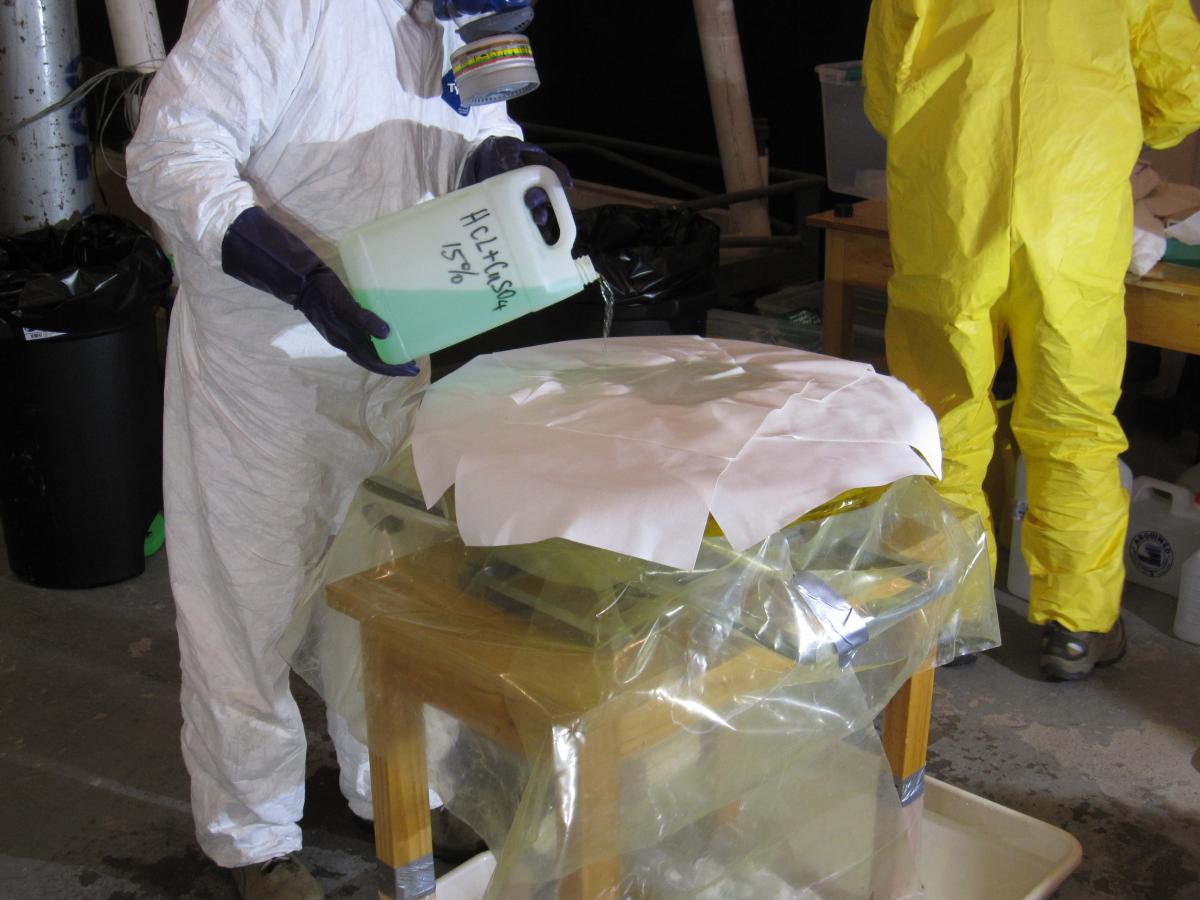
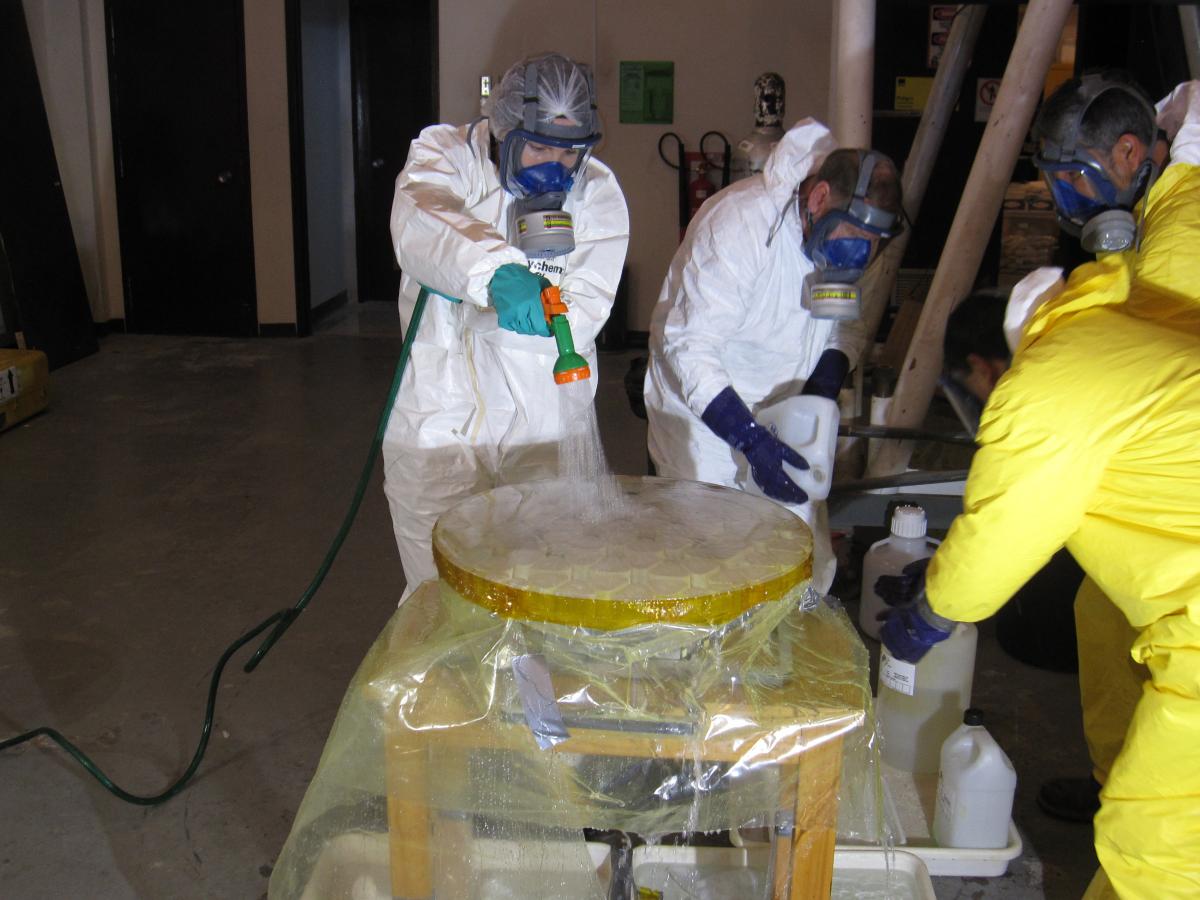
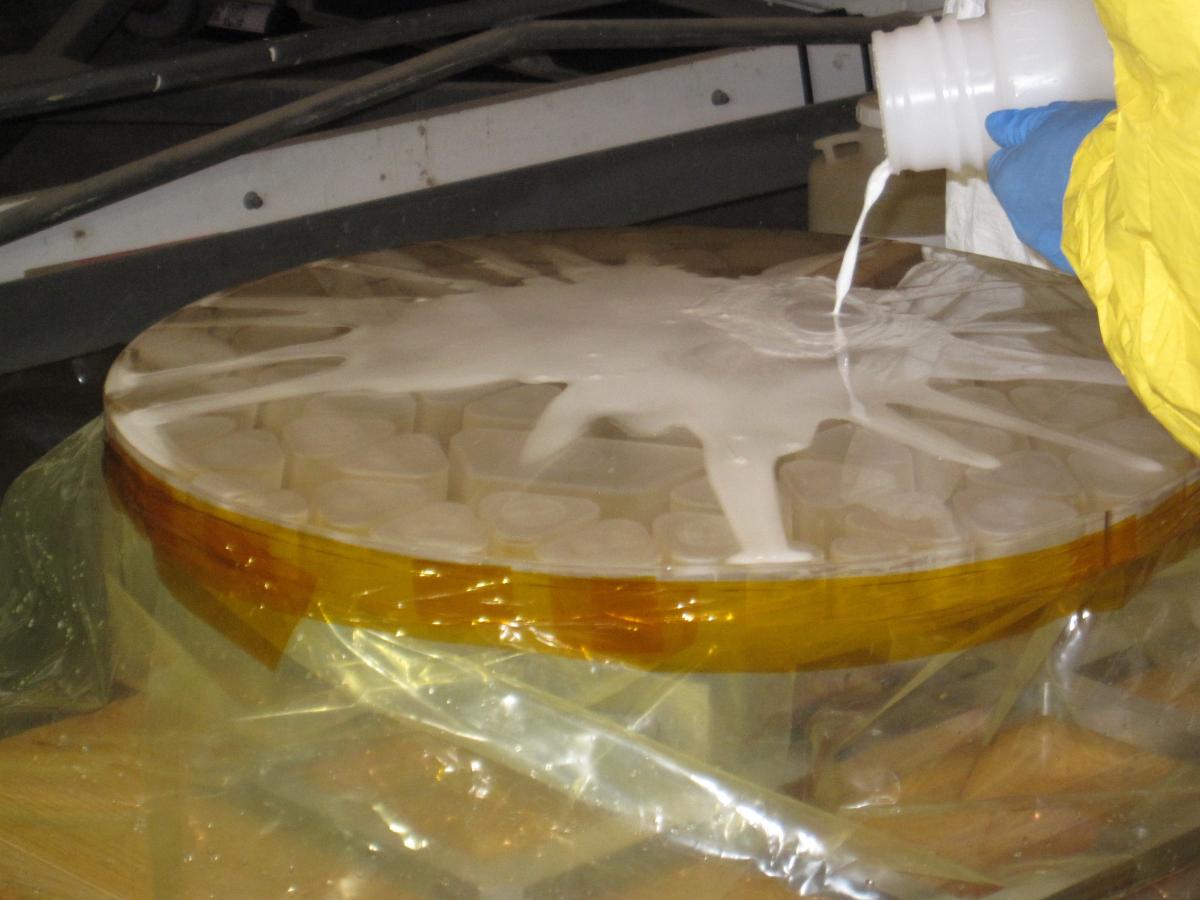
- The aluminum is removed. The solutions involved can produced fumes so protective gear is required in additional to good ventilation.
- The mirror is placed in the coating chamber, together with witness samples.
- The chamber is pumped in several stages, included a glow discharge used for cleaning and a diffusion pump that runs for several hours to produce a good vacuum.
- The filaments carrying the aluminum for deposition are turned on to deposit the coating
- The chamber is brought back to atmosphere after a nitrogen back-fill, and the mirror is inspected and the reflectivity is measured.
- If the coating is not good enough, the process would be repeated; for both M2 and M3 the first coating was excellent.
The pictures below show steps in the process:
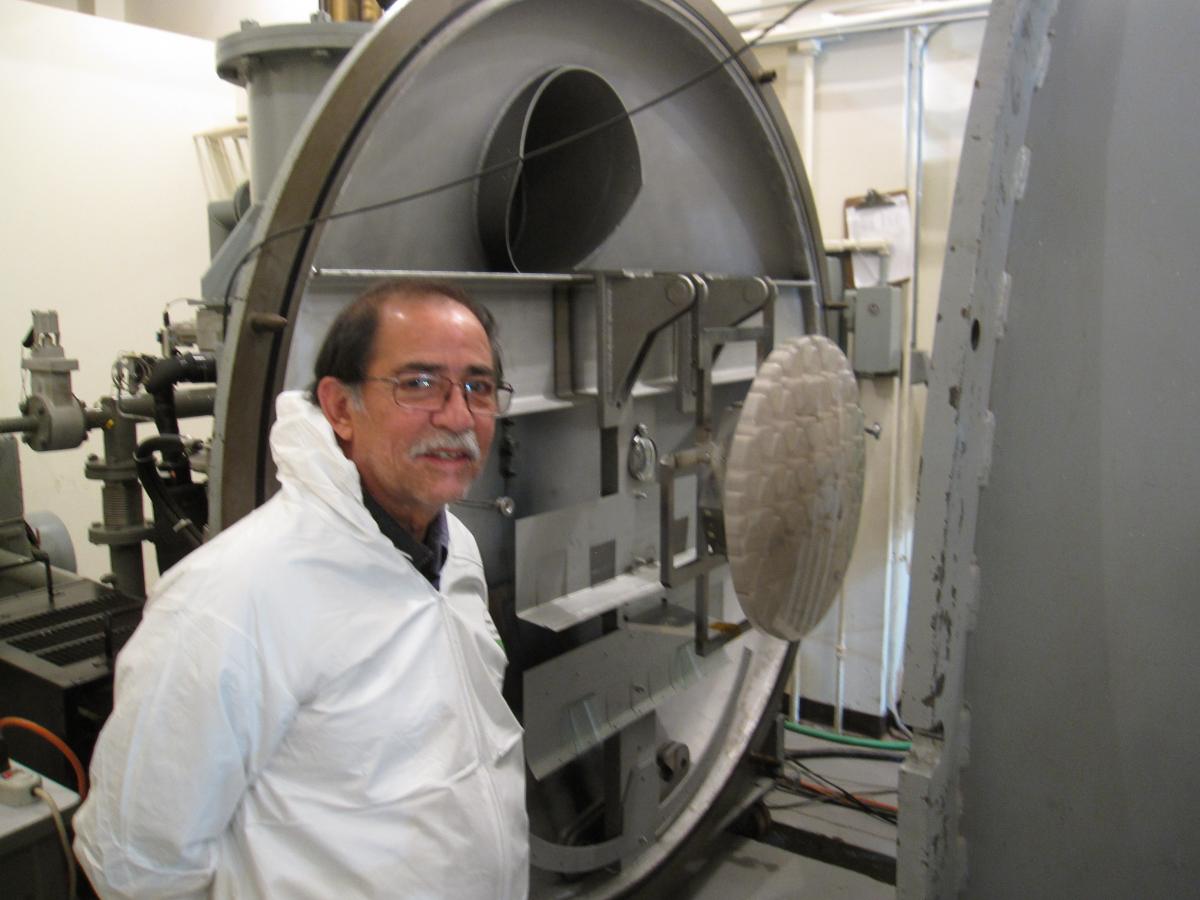
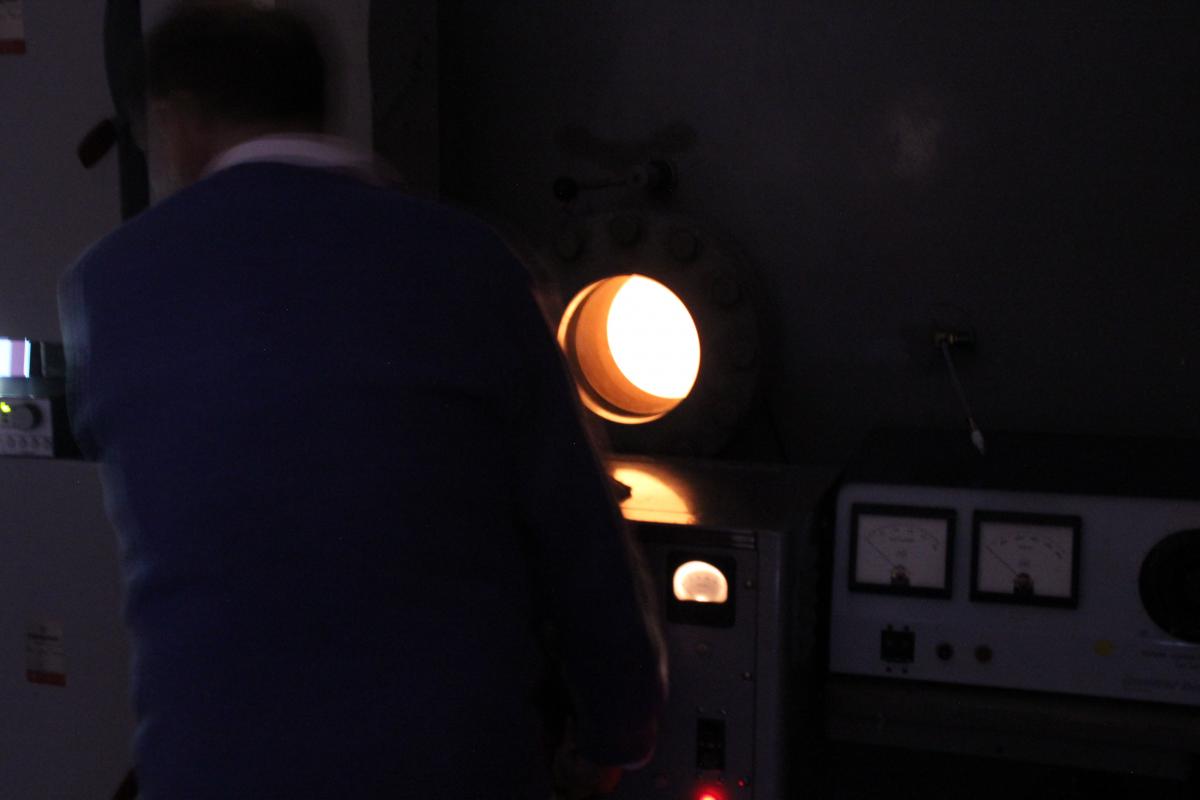
First, the coating tank itself (vacuum systems at left, filament controls and view port on the right); Roberto Tighe operating the plant.
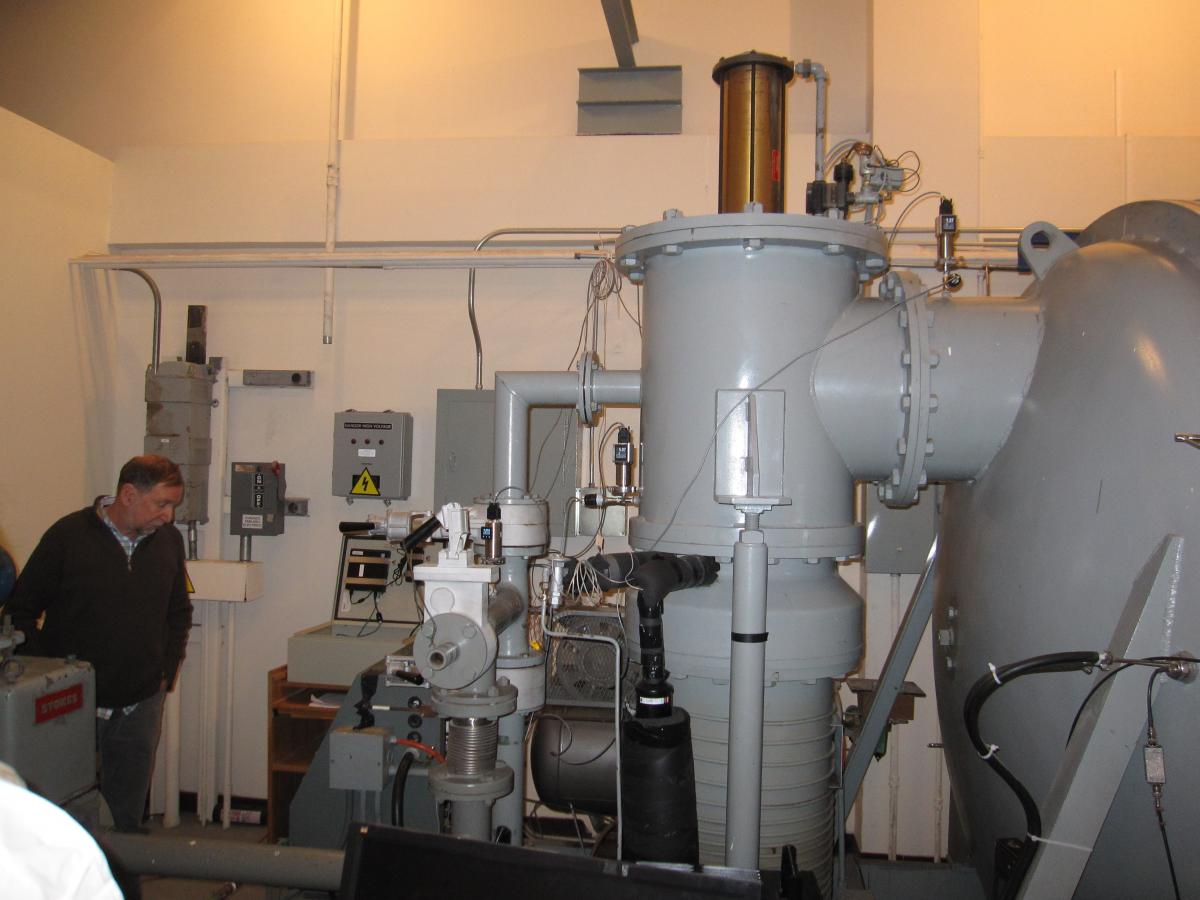
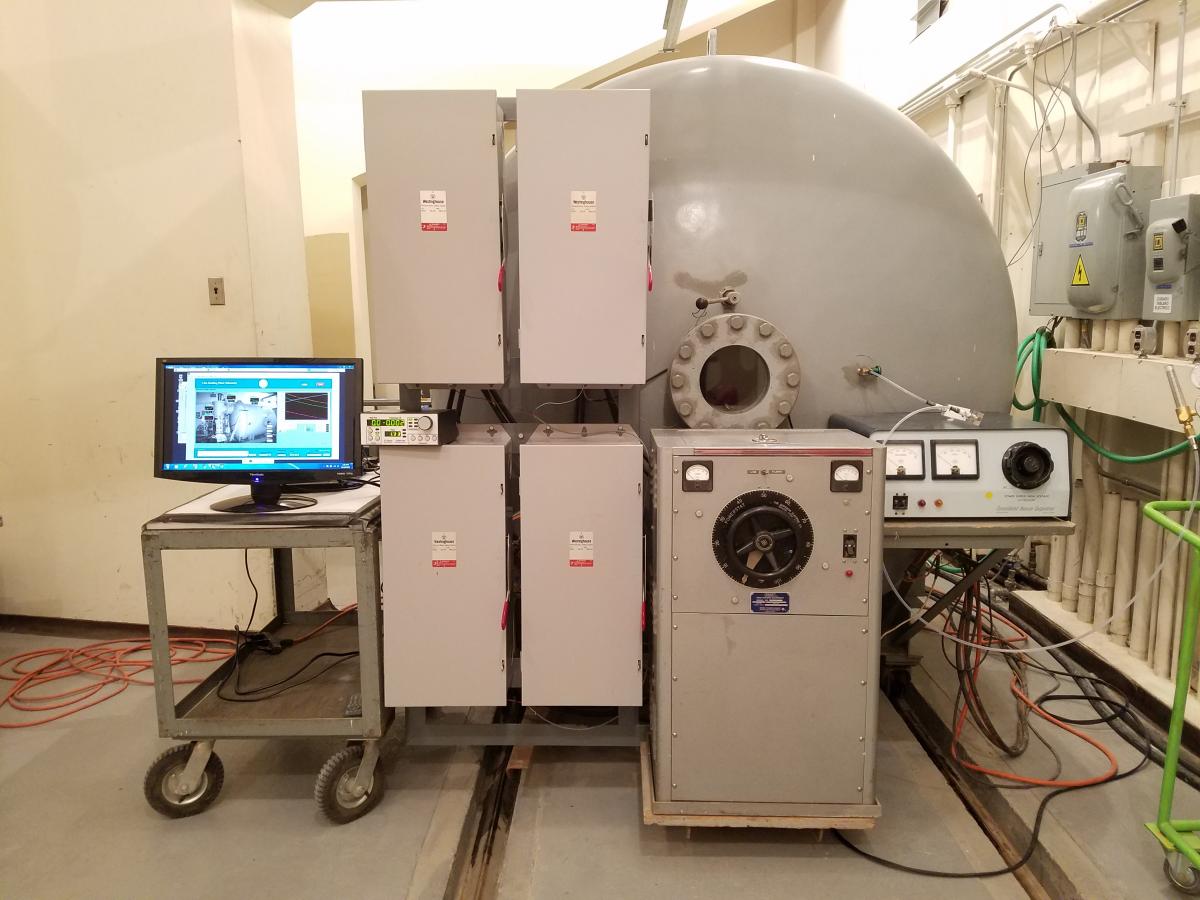
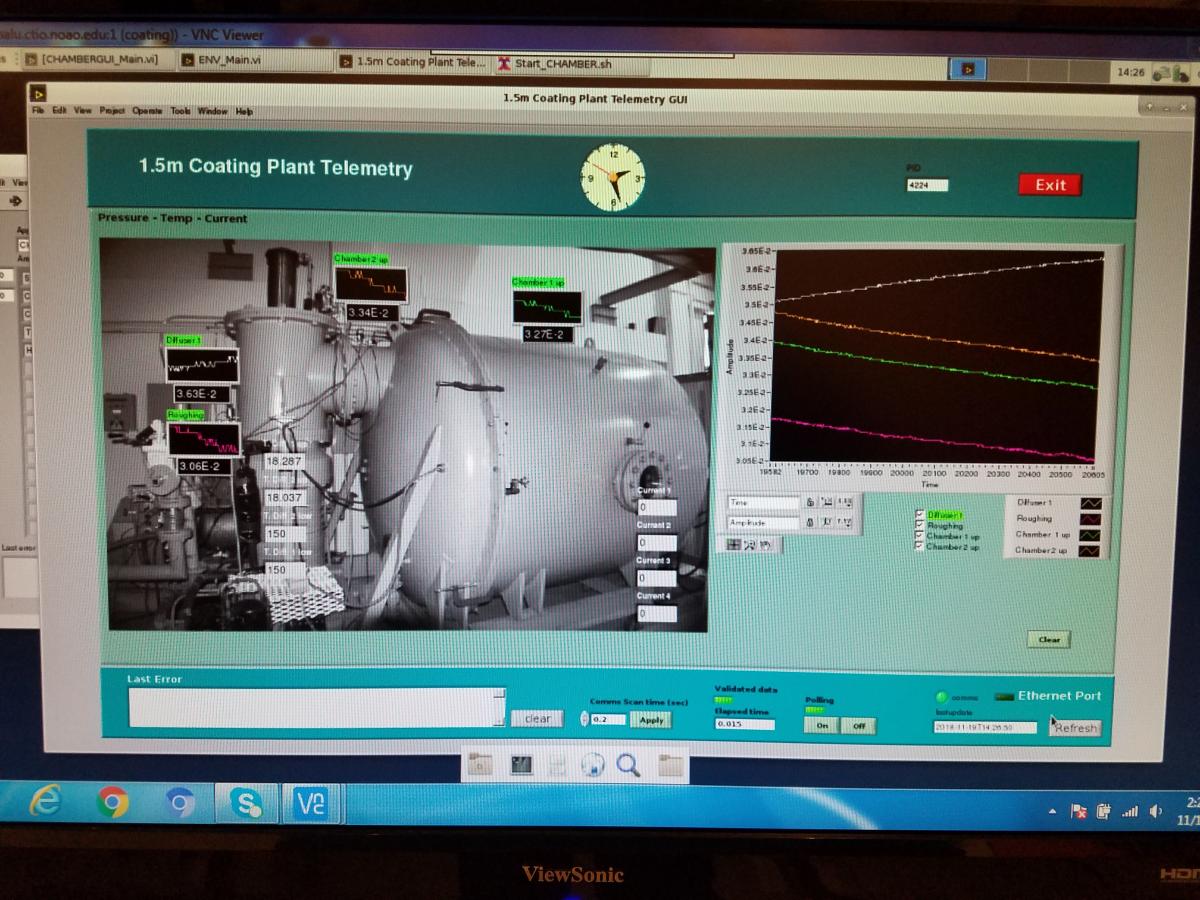
Although the tank itself dates from the construction of the 1.5-m telescope nearly half a century ago, its controls and telemetry have been modernized recently (below):
The mirror is prepared for stripping, and then the aluminum is removed in several steps, including multiple rinses (M2 is shown in the photos below). Aluminizing crew in top right picture, clockwise: Nicole David, Roberto Tighe, Juan Andrade and Guilermo Dubo. Patricio Ugarte in lower right picture.
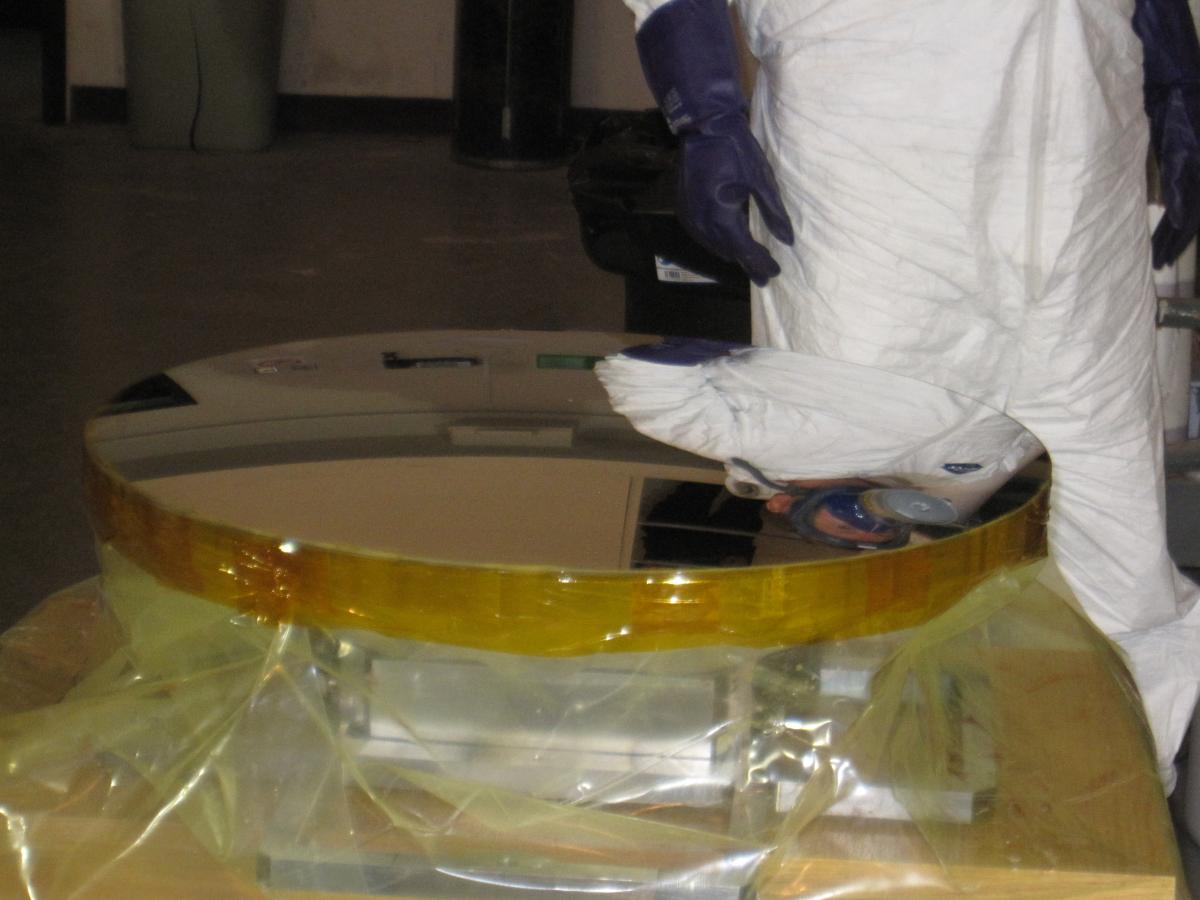
The mirror is then inspected and installed in the coating chamber (M3 on left below, M2 in right-hand picture)
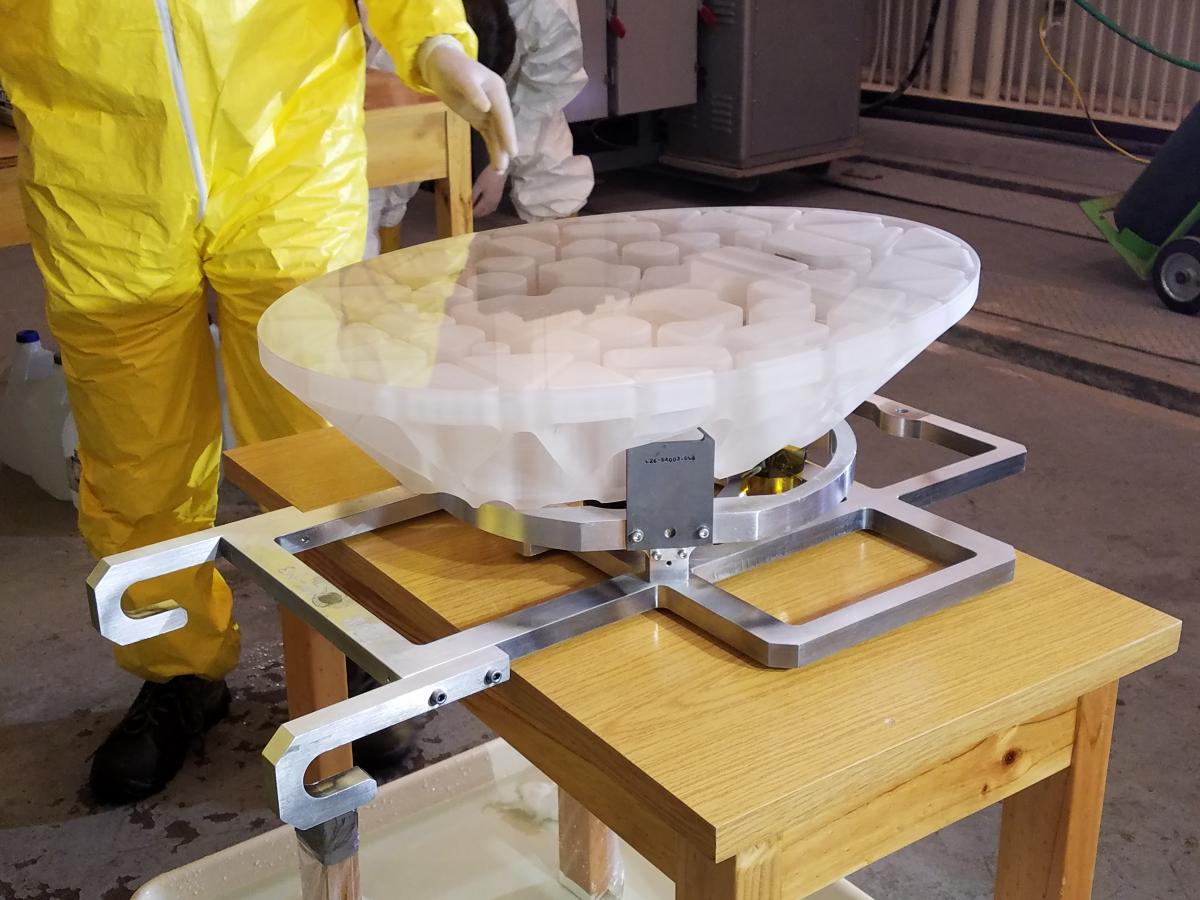
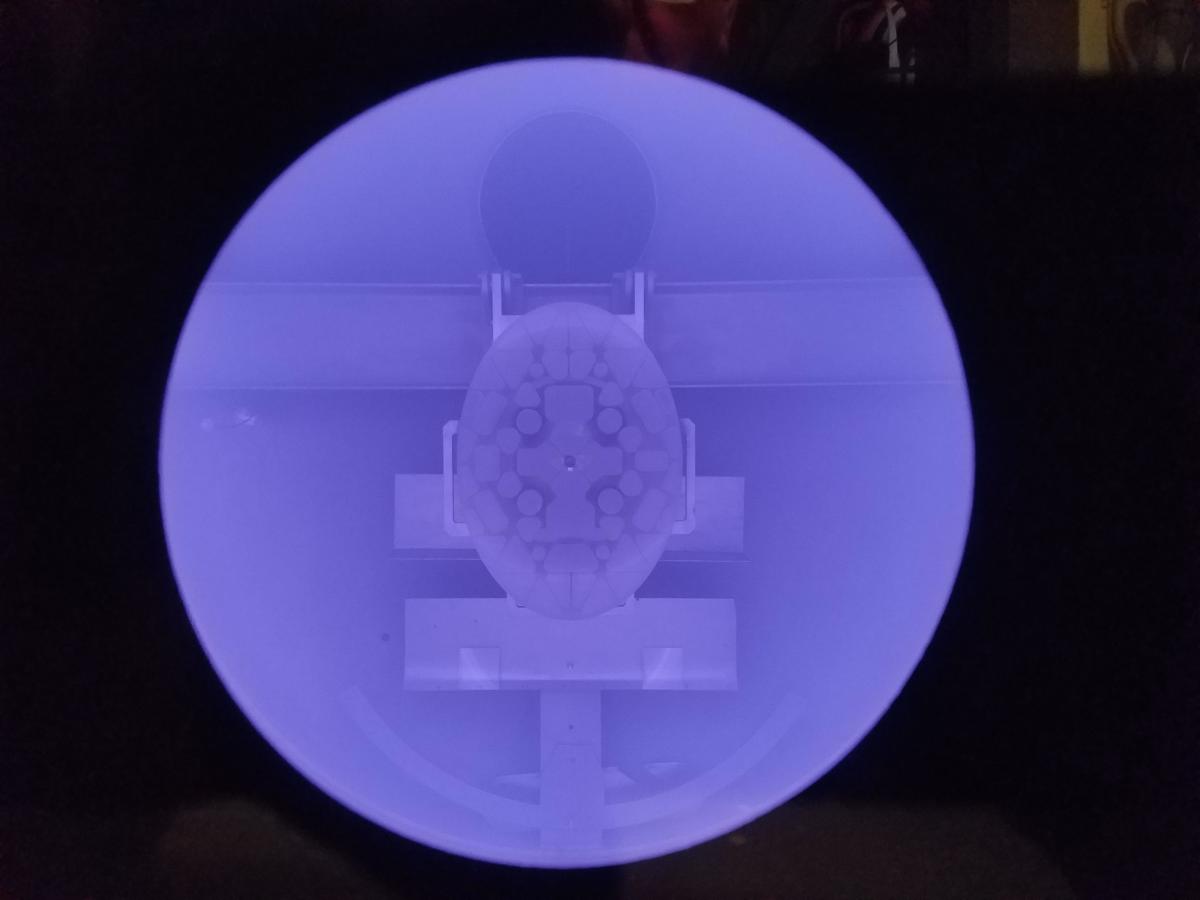
The pictures below show the glow discharge used for cleaning (left), and the light from the filaments when aluminum is being deposited (right) - both for M3.
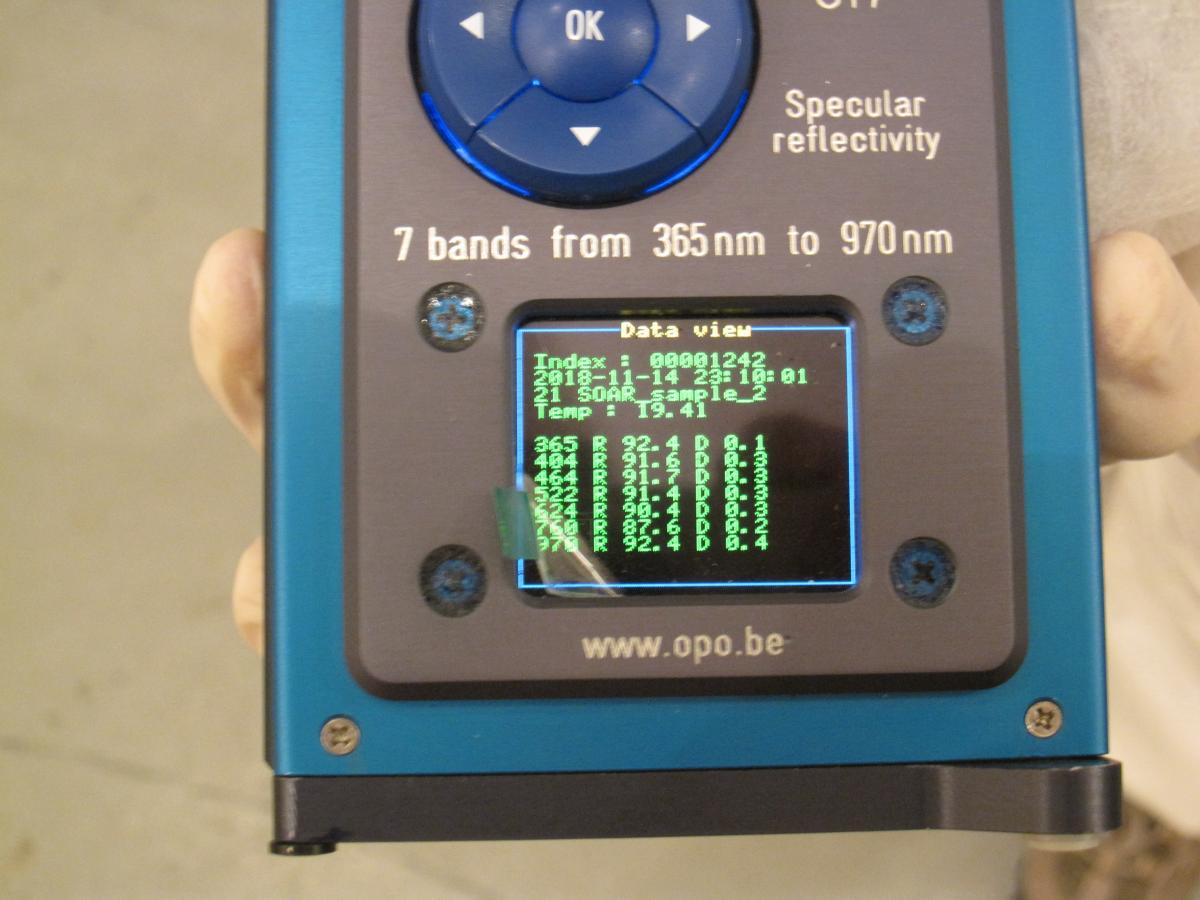
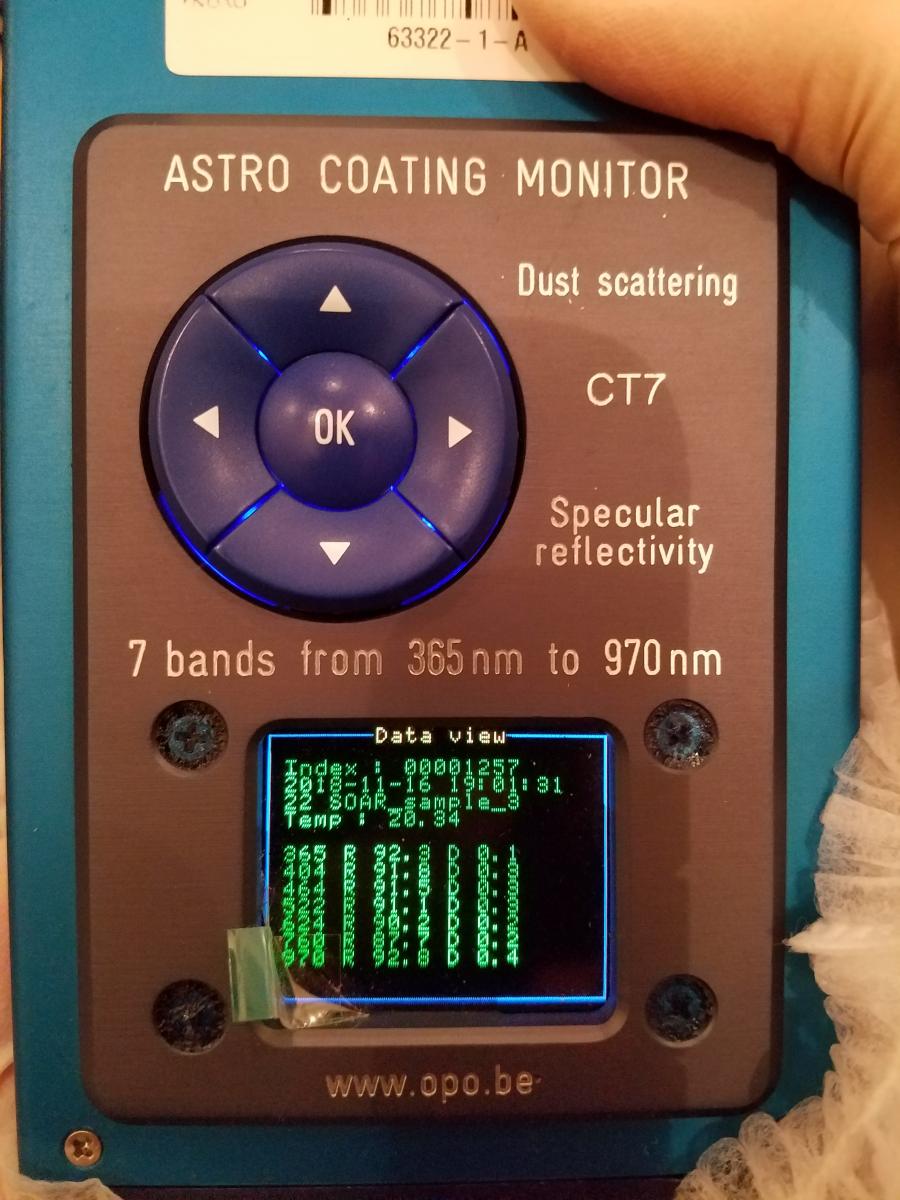
Finally, the mirror is removed, inspected, and new reflectivity measurements are taken (M2 on the left, M3 on the right):
M2 and M3 Re-Assembly
The next steps require re-installing the mirrors on their mechanical assemblies - the M3 assembly also needs re-alignment and a check of servo operation for the tip-tilt capability.
The image on the left shows M2 (with cover) back on the assembly; the image on the right shows M3 being re-installed on its actuators.
M2 Re-Installation
The re-installation of M2 and its baffle took place over two days, for operational convenience; here the complete sequence is shown:
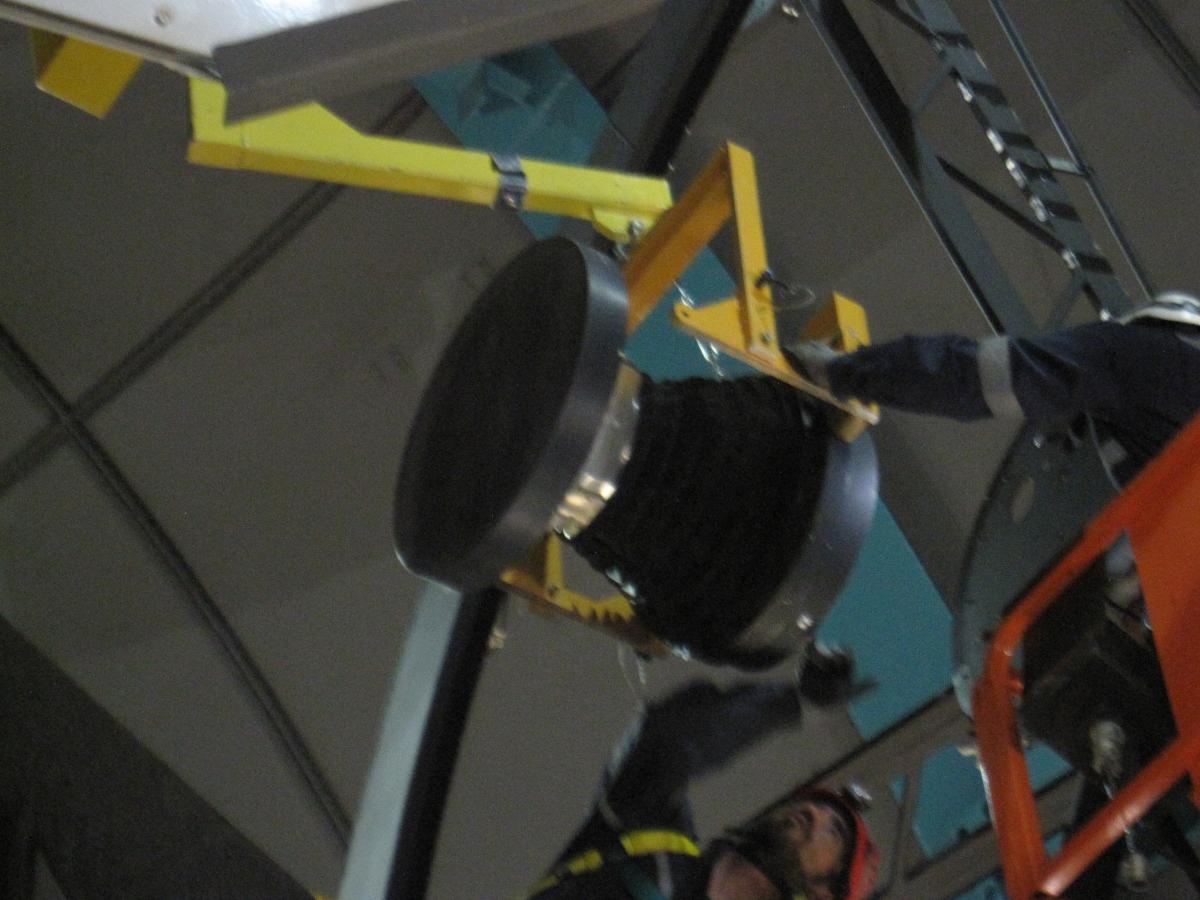
The first picture shows the assembly just before attachment to the top end. The next shows the assembly with the cover removed, just before installing the baffle. The baffle is being installed in the final picture.
M3 Re-Installation
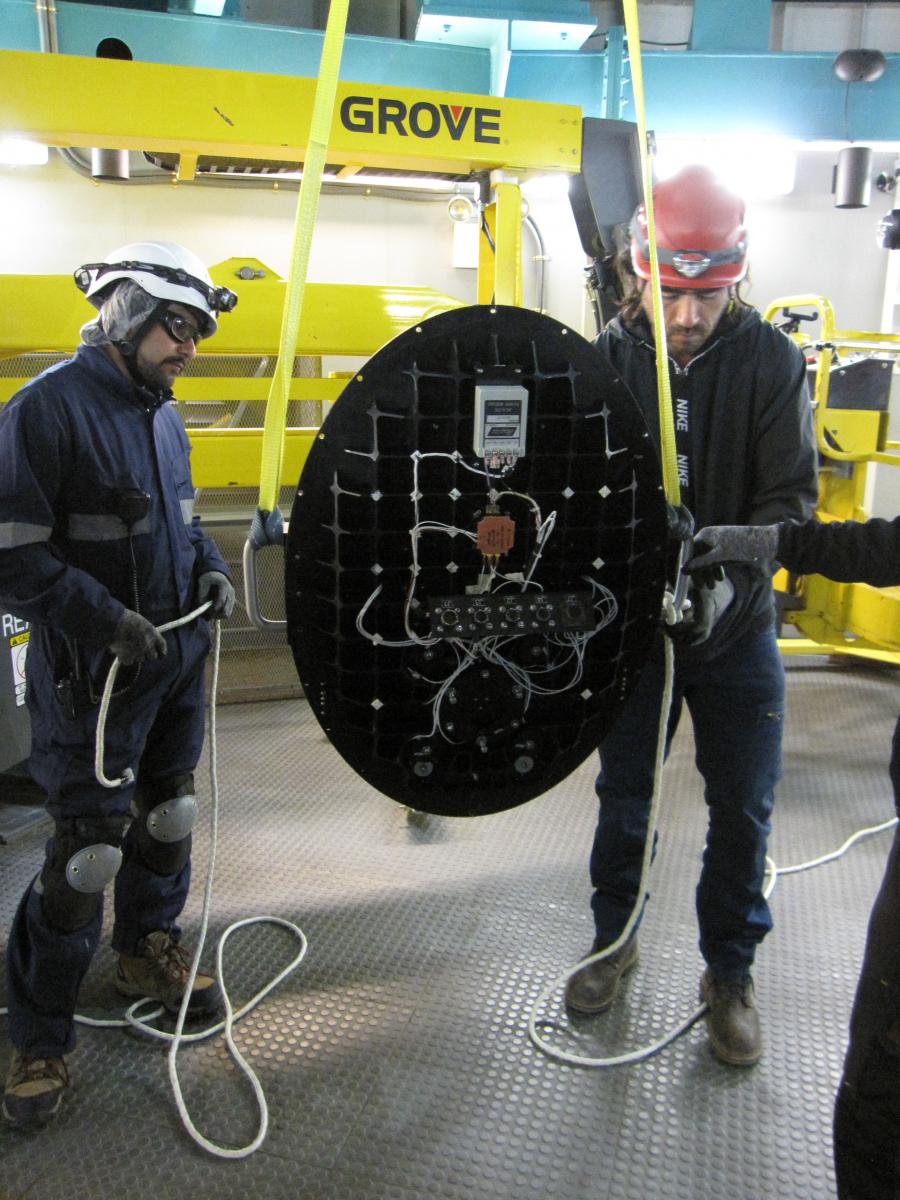
The process for re-installing M3 is generally similar, as shown in the pictures below. The first shows the assembly being lifted for installation. The next two show the assembly being positioned on the end of the M3 turret, and then the baffle being moved over the end of the turret.
Back in Service....
The telescope elevation motion is enabled and check-out begins.
Updated on June 13, 2024, 3:44 am
